
10 Countertop Support Ideas for Laundry Machines
Introduction
When planning a laundry room upgrade featuring front load laundry machines, homeowners often debate whether a countertop rest directly on the washer or be wall-mounted on cleats. Front load laundry machines naturally allow for a continuous low profile countertop installation, which creates a neat surface for folding clothes and organizing supplies.
Reviewing various support methods helps improve overall laundry room functionality by ensuring the surface remains sturdy and secure during everyday use. Readers will explore multiple ways to configure their workspace, making it easier to choose a reliable setup for the home.
Weighing Your Installation Options: Direct Rest Versus Wall Mounting
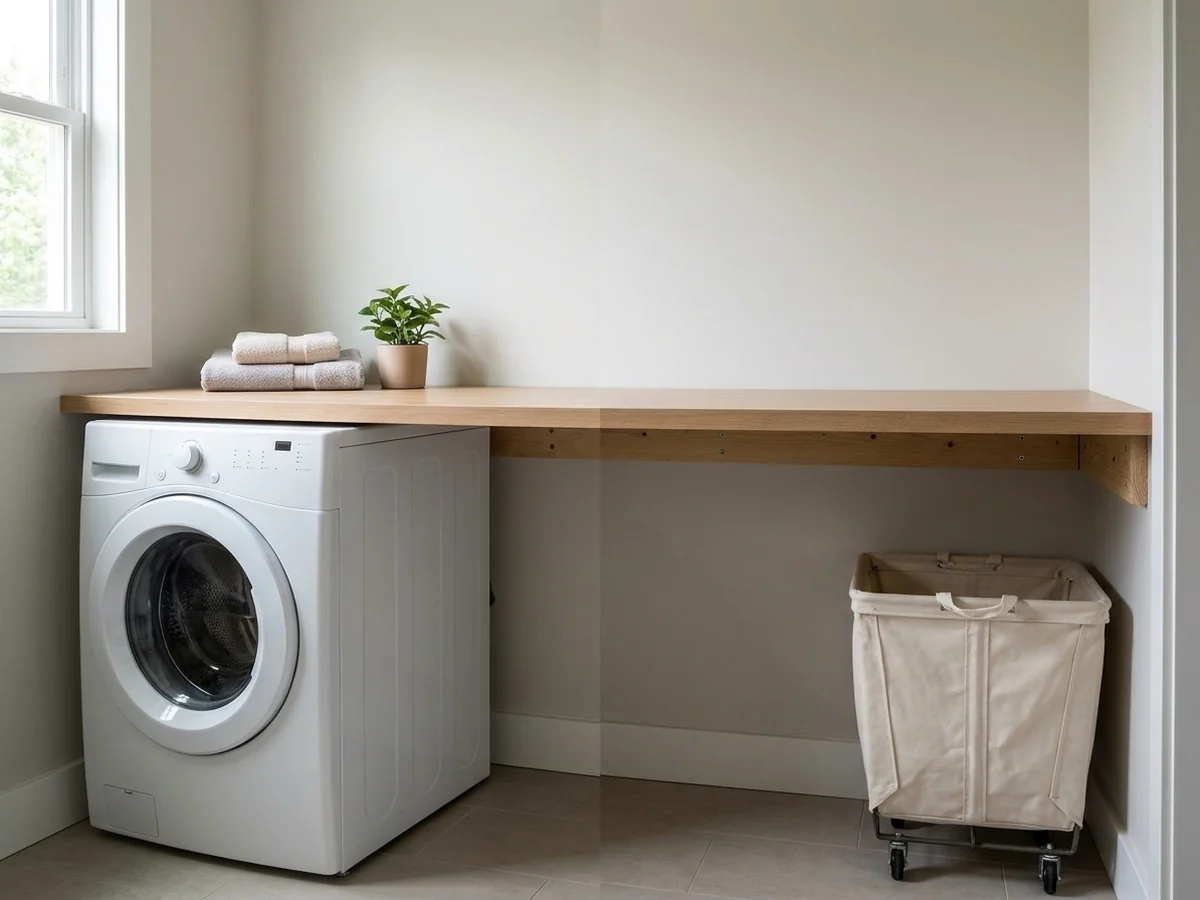
Deciding how to support your folding surface involves looking at whether you want the structure to let the countertop rest directly on the washer or be wall-mounted on cleats. Front load laundry machines allow for a continuous low profile countertop installation because their flat upper surfaces sit flush beneath a uniform height. This layout creates a sleek laundry room folding table support cleats setup if you choose to secure the materials along the surrounding walls instead of relying on the appliances for weight.
When planning diy washer and dryer countertop ideas, understanding structural physics helps prevent long term appliance damage. Washers and dryers experience heavy motion during spin cycles. If a heavy wood panel sits directly on the equipment, that mechanical vibration can transfer straight into your custom surface. To avoid rattling or surface scratches, typical home improvement guidance suggests maintaining small clearance gaps above the machines.
For a sturdier setup that completely isolates your laundry room countertop over washer and dryer units from machine movement, floating designs are a popular route. Building a floating countertop typically requires anchoring support directly to wall studs. Common practice suggests that cleats attached to the wall studs help secure a laundry countertop without requiring front legs. Because plywood can serve as a structural substrate for a laundry room countertop, securing it to wall supports ensures the wood never touches the vibrating chassis below.
A common mistake during this stage is forgetting to account for moisture or weight distribution. Because laundry rooms experience high humidity, moisture resistant finishes are necessary for wood countertops installed above laundry appliances to prevent warping. Whether you choose direct placement or wall anchoring, always measure your space twice and verify that your chosen substrate can handle heavy folding baskets and detergent containers without sagging.
Using Wood Cleats for Floating Laundry Room Surfaces
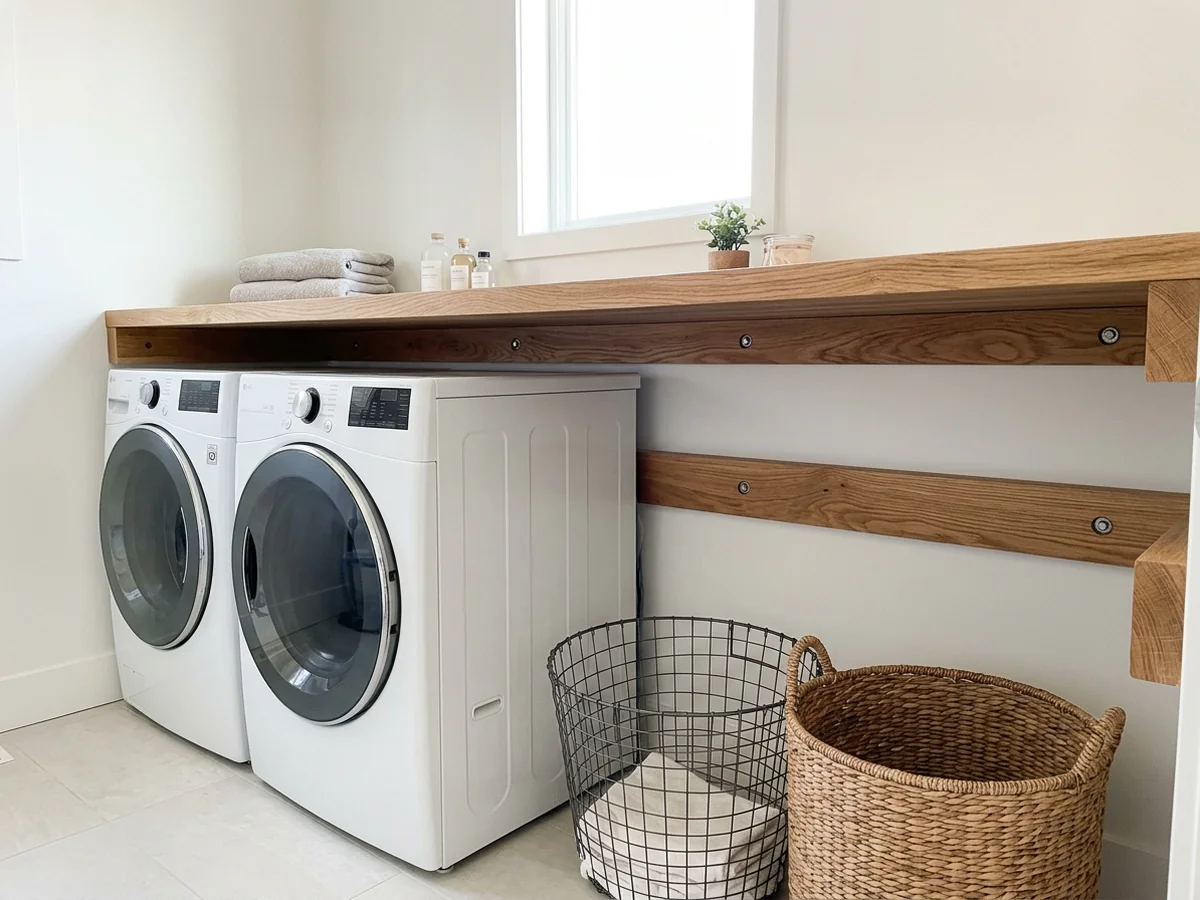
When planning a laundry room upgrade, a common approach involves deciding whether the countertop rest directly on the washer or be wall-mounted on cleats. Building a floating surface typically requires anchoring support directly to wall studs using sturdy wood pieces. This method gives you a clean finish while keeping your appliances completely accessible below without crowding the space.
You will find that cleats attached to the wall studs help secure a laundry countertop without requiring front legs. Wood cleats screw directly into vertical wall framing members to bear the downward load safely. This floating laundry countertop support eliminates the need for bulky vertical posts on the front edges, leaving the floor entirely open around the units so that cleaning dust and lint becomes much easier.
Front load laundry machines allow for a continuous low profile countertop installation, and using laundry room folding table support cleats provides a stable surface for sorting clothes without shaking the appliances. Because daily folding and laundry tasks put stress on the wood, moisture resistant finishes are necessary for wood countertops installed above laundry appliances. Additionally, plywood can serve as a structural substrate for a laundry room countertop when paired with these wall anchors.
To execute this style correctly during diy washer and dryer countertop ideas planning, follow these practical steps:
- Locate and mark all vertical wall framing members behind your machines using a reliable stud finder.
- Measure and cut your wood pieces to match the back wall and side walls of the laundry alcove.
- Pre-drill holes through the support pieces and drive structural screws directly into the framing members to ensure a secure hold.
- Check the surface with a spirit level across all axes before securing the main board on top.
Homeowners often make mistakes by skipping the stud finder and anchoring into drywall anchors alone, which fails under heavy loads, or by forgetting to seal the wood against humidity. Taking time to anchor correctly ensures a long lasting, stable workspace.
Plywood Core for Direct Rest Counters
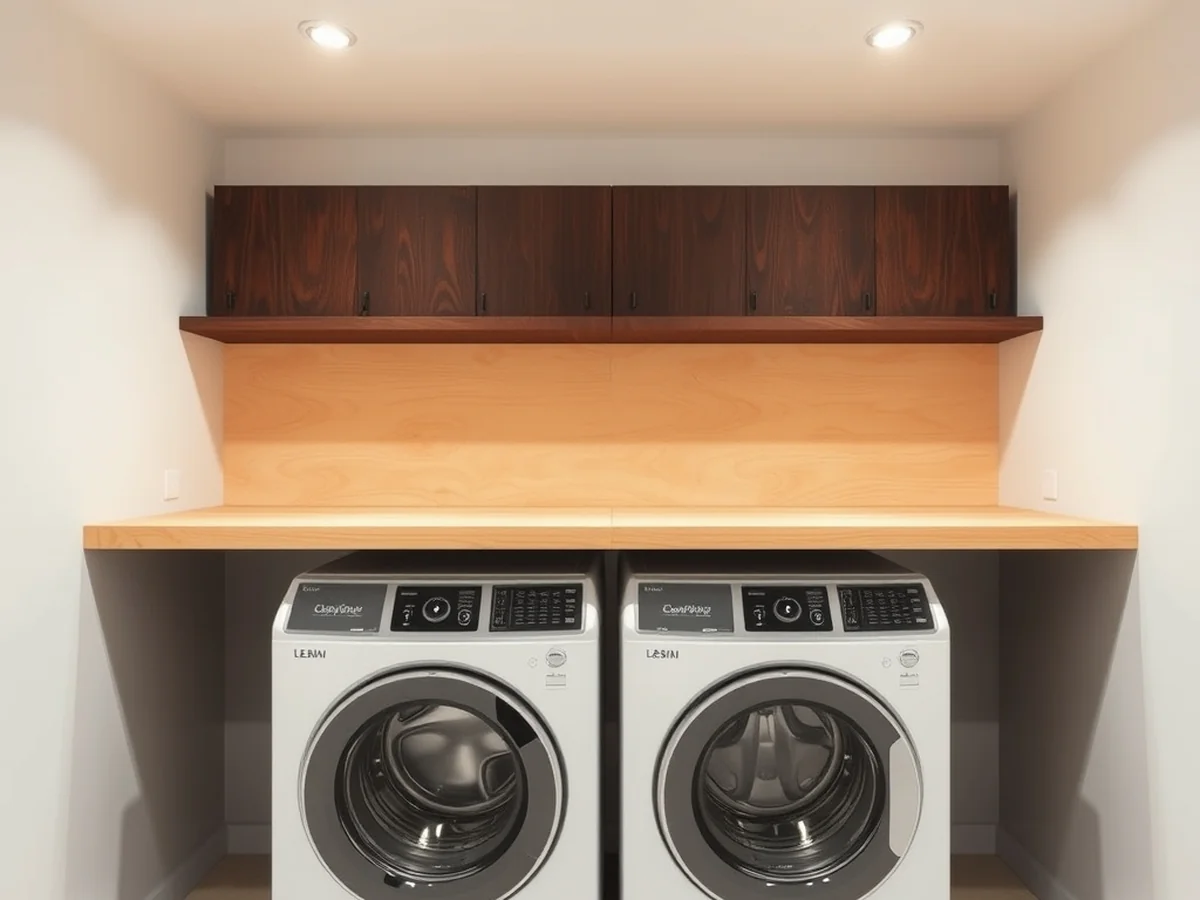
Plywood can commonly serve as a structural substrate for a laundry room countertop when you want a solid core resting directly over your units or tied into the surrounding framing. When planning out your diy washer and dryer countertop ideas, using a thick sheet of plywood ensures your workspace stays rigid under daily use. This approach pairs well when you design a laundry room countertop over washer and dryer setups that need a sturdy, flat surface for folding clothes.
Gathering the right supplies makes building your base straightforward. Here is what you need for a solid plywood build:
- One thick sheet of cabinet grade plywood cut to your exact room dimensions.
- Matching edge banding to cover the exposed raw plywood sides for a clean finish.
- Wood glue and finishing nails to secure any trim or additional framing pieces.
- Sanding blocks or an orbital sander to smooth out all rough edges before installation.
- Moisture resistant sealant or polyurethane to protect the wood from humidity.
Moisture resistant finishes are necessary for wood countertops installed above laundry appliances because high humidity and occasional water splashes can warp untreated material. Applying multiple coats of a protective polyurethane or a durable bar top epoxy safeguards your plywood core against liquid damage over time. Taking time to seal every surface guarantees your new laundry upgrade maintains its appearance through years of washing cycles.
Stainless Steel Surfaces on Cleats
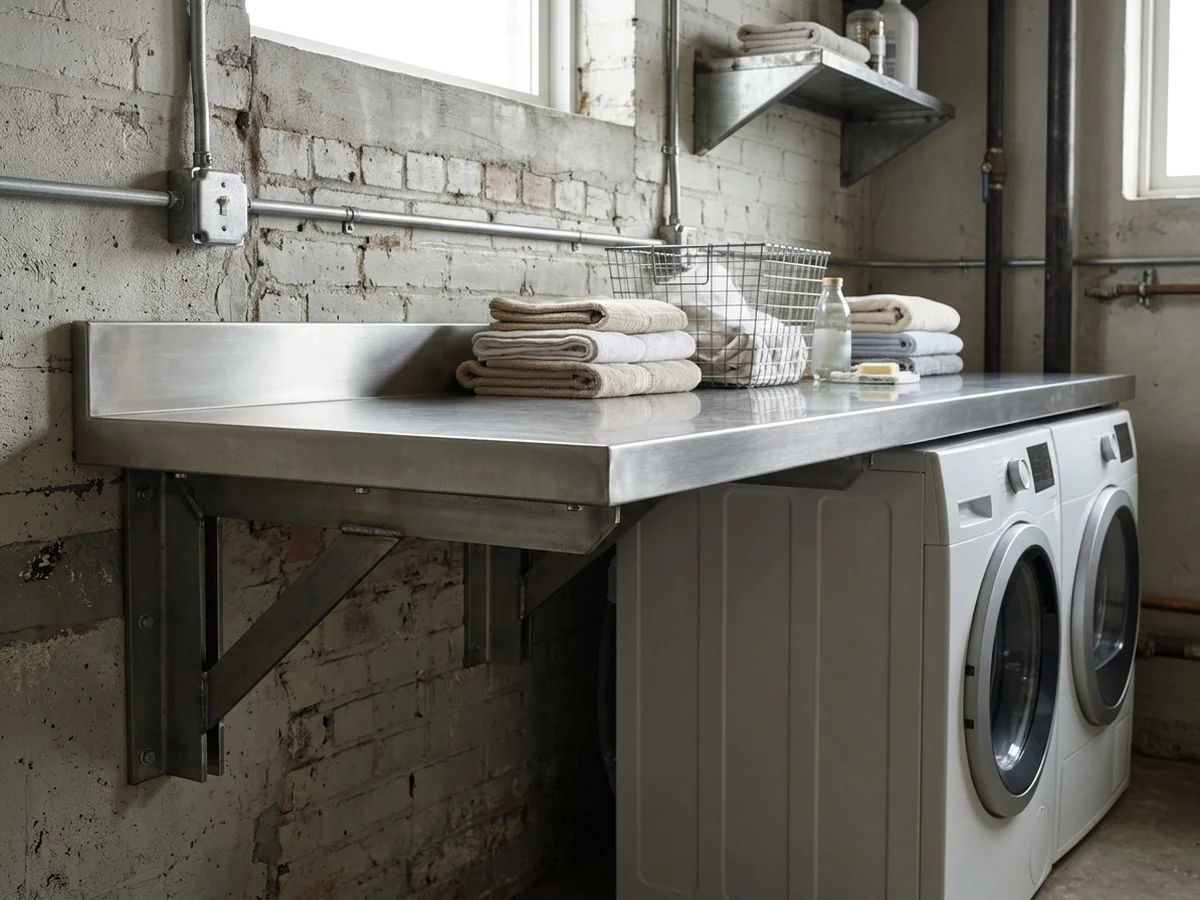
Stainless steel is commonly used for a durable laundry room countertop surface when installed over wall supports. This metal option stands up well to heavy folding tasks and daily wear, making it a popular choice for busy family spaces.
Comparing metal surfaces against wood alternatives reveals distinct differences in moisture resistance and maintenance. Wood requires moisture resistant finishes to prevent water damage from damp clothes. Stainless steel resists liquid absorption naturally, making spills much easier to wipe away during sorting and folding routines.
Maintaining a heavy use folding zone on a metal surface involves simple daily cleaning routines. You can sanitize the area quickly with mild soap and water without worrying about stains, warping, or chemical damage.
When planning a project featuring a stainless steel countertop, consider these practical steps:
- Measure the exact alcove dimensions, keeping in mind that front load laundry machines allow for a continuous low profile countertop installation.
- Prepare the room by anchoring structural supports securely. Common guidance suggests that building a floating countertop requires anchoring support directly to wall studs, often utilizing plywood as a structural substrate.
- Attach cleats to the wall studs to help secure a laundry countertop without requiring front legs.
- Fit the stainless steel surface precisely over your framework, ensuring all edges are sealed or safely finished to prevent snags on laundry.
Homeowners often make a few common mistakes when working with metal surfaces in the laundry room. One frequent error is failing to account for proper leveling during installation. If the underlying support structure is uneven, the metal sheet can flex or trap moisture underneath. Another mistake involves using harsh abrasive pads for cleaning, which can scratch the finish over time. Stick to soft cloths and mild detergents to keep the metal looking pristine for years.
Comparing Weight Capacities and Support Stability Styles
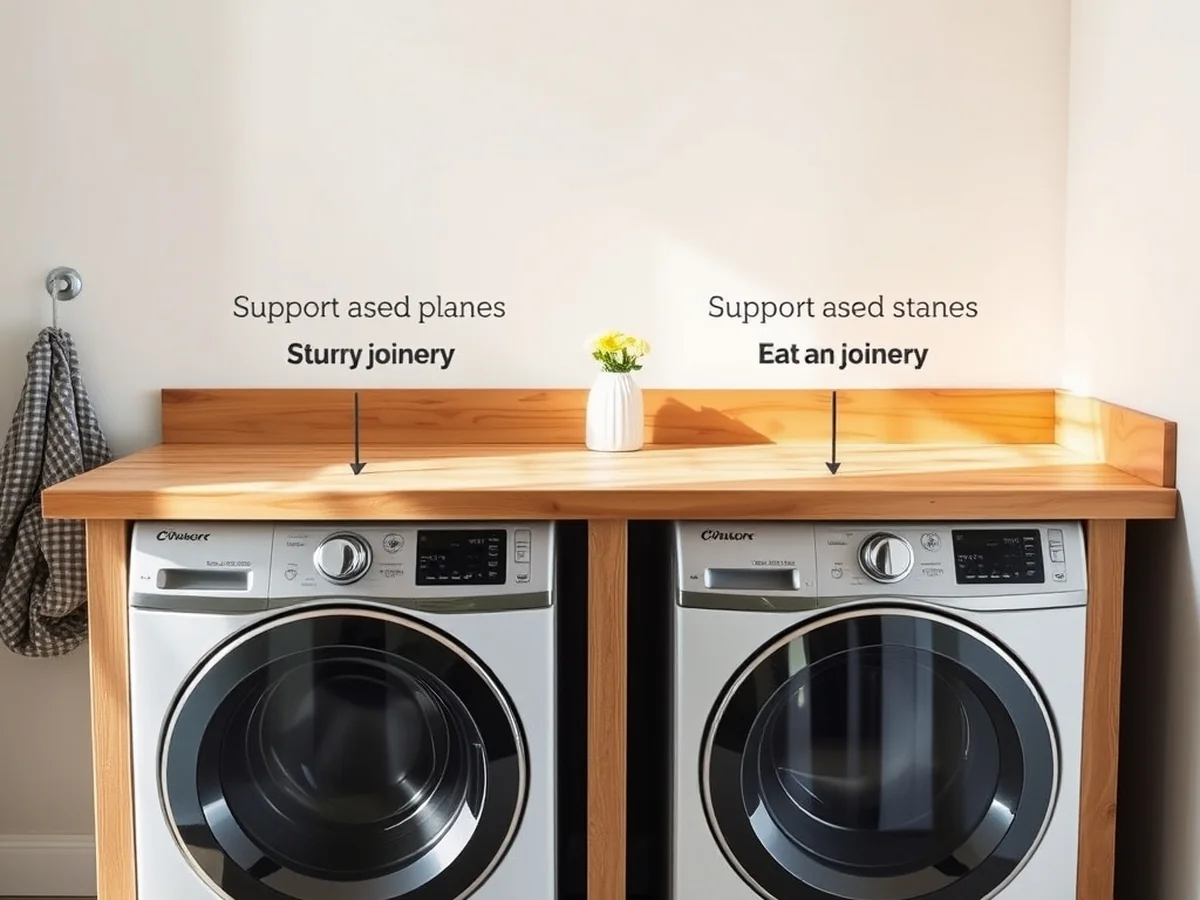
Deciding whether your surface should rest directly on the washer or be wall-mounted on cleats shapes the entire load capacity of your utility area. When planning a laundry room countertop over washer and dryer units, homeowners typically choose between direct placement or an elevated approach. Each method handles the physical downward force differently, impacting how well your folding station performs under heavy laundry baskets and daily use.
Common guidance suggests that building a floating setup requires anchoring support directly to wall studs. Utilizing wood cleats attached securely to these structural members helps hold a laundry countertop without requiring front legs. This technique creates a clean look, especially when working with front load laundry machines that allow for a continuous low profile countertop installation. Plywood can serve as a structural substrate for a laundry room countertop, providing a rigid base that spans across the span cleanly.
| Support Style | Primary Load Path | Appliance Contact | Typical Framing Material |
|---|---|---|---|
| Wall-Mounted Cleats | Wall Studs | None | Wood Cleats |
| Direct Appliance Resting | Washer and Dryer Chassis | Direct Touch | Plywood Substrate |
| Hybrid Floating Setup | Studs and Side Framing | Minimal Clearance | Wood and Plywood |
Evaluating stability requires looking closely at how laundry room folding table support cleats handle everyday movement. A common mistake during installation is failing to account for material durability and moisture exposure. Because utility rooms experience high humidity and occasional spills, moisture-resistant finishes are necessary for wood countertops installed above laundry appliances. Choosing reliable materials like stainless steel is another option for a durable laundry room countertop surface that resists water damage.
When executing projects involving a custom laundry station and appliance surround, careful measurement prevents common structural errors. If you prefer floating laundry countertop support, verify that your fasteners sink deep into framing timbers rather than hollow drywall anchors. Skipping proper stud finding often leads to sagging under heavy loads. Always check that your chosen substrate handles everyday downward weight reliably before finishing the surface with your preferred protective coating.
Managing Appliance Vibration and Clearance Gaps
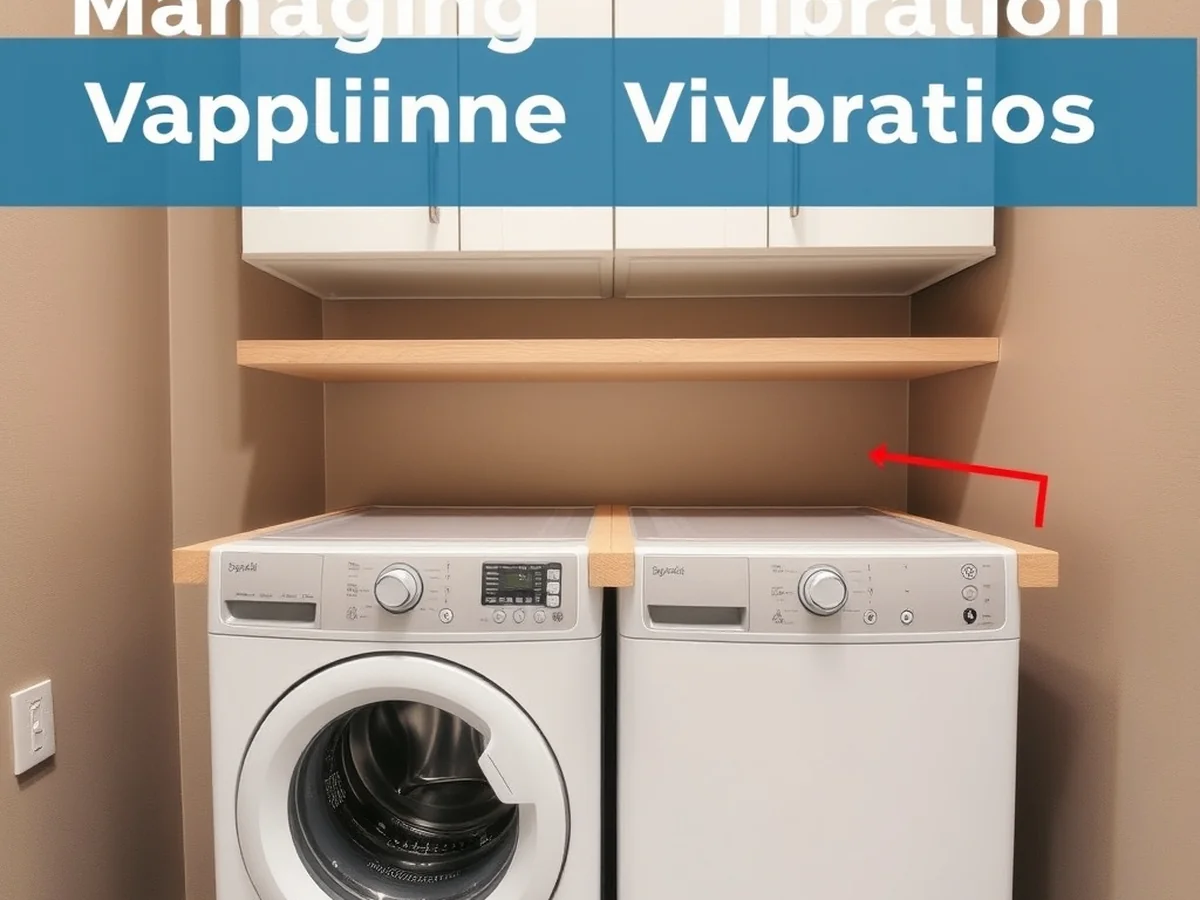
Managing vibration is a critical factor when installing a utility surface above front loading washers and dryers. Front load laundry machines allow for a continuous low profile countertop installation, but these appliances move significantly during heavy spin cycles. Ignoring proper spacing can transfer kinetic energy directly into the surrounding walls or side framing supports, potentially causing structural strain over time.
When planning custom laundry platform projects, understanding how kinetic force travels through the room is essential. If a heavy wood or stainless steel surface touches a shaking appliance, vibrations transfer directly into the joints and fasteners. This constant movement can loosen hardware or crack the surrounding substrate. Leaving a dedicated buffer zone around the machine absorbs minor shifts during high speed cycles without putting stress on the wall studs or support elements.
Achieving a stable setup involves specific practical steps during the layout phase:
- Measure the exact height and width of your appliances, including any protruding knobs, doors, or hoses, before cutting your plywood or stainless steel materials.
- Maintain a consistent clearance gap on both sides and along the back of the machine so the appliance chassis never makes direct contact with wood cleats or walls.
- Check that your floating laundry countertop support leaves enough vertical room above the appliance lid or door for easy operation and routine maintenance.
- Incorporate moisture resistant finishes to protect the wood substrate from humidity and minor spills common in laundry areas.
A common mistake during installation is fitting the countertop too tightly against the appliances to maximize folding space. Without adequate side clearance, even slight machine wobbles will bang against the underside of the counter, creating loud noises and potential damage. Taking the time to measure these gaps carefully during planning ensures a quiet, stable setup that protects your investment and lasts for years.
Step by Step Guide to Building a Counter Over Your Machines
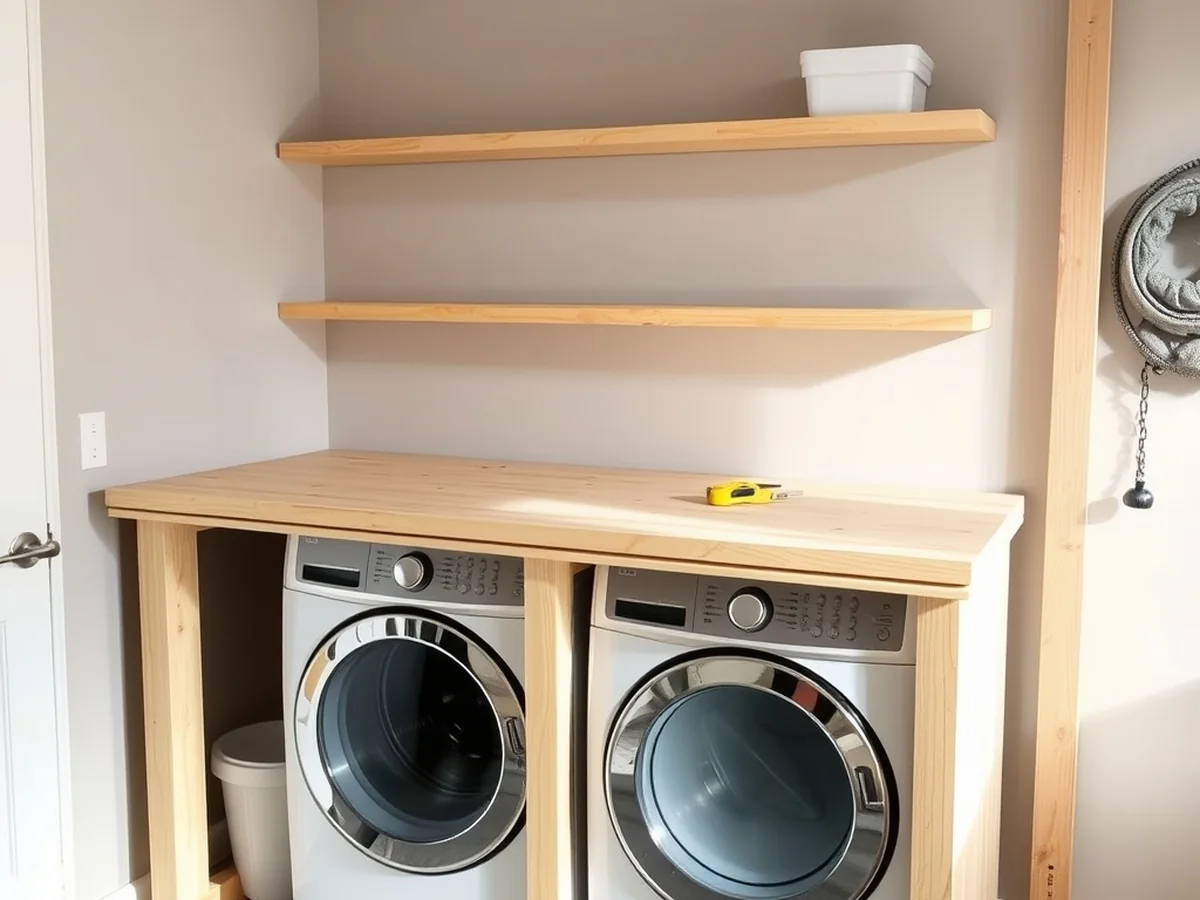
Building a custom utility surface requires careful planning so your final layout accommodates appliance movement while maintaining a clean look. Front load laundry machines often allow for a continuous low profile countertop installation, making them ideal for these projects. When planning your layout, you must decide whether to place the slab right on top of the units or anchor a wall mounted frame instead, depending on your specific layout and aesthetic goals.
Understanding the execution details helps prevent common mistakes, such as failing to account for operational vibration or forgetting to treat wood surfaces against high humidity environments. Common guidance suggests that a wall anchored laundry shelf relies on fastening frameworks directly to wall studs rather than depending on the appliances for weight.
- Begin by measuring the total width, depth, and height of your laundry pair while leaving enough clearance for operational movement and hoses.
- Locate the studs behind your appliances using an electronic finder and mark their vertical centerlines clearly on the drywall.
- Cut your wood cleats to size, ensuring you apply moisture resistant finishes to protect against humidity from the machines.
- Fasten the wood cleats securely into the wall studs to create a stable horizontal framework. Common guidance indicates that wood cleats attached to wall studs help secure a laundry countertop without requiring front legs.
- Place your plywood substrate or alternative surface material onto the cleat framework to check for a level fit. Plywood is frequently chosen because it can serve as a structural substrate for a laundry room countertop.
- Apply a durable surface treatment to withstand daily folding and sorting tasks. Stainless steel is often considered one option for a durable laundry room countertop surface that handles heavy utility use.
- Seal any perimeter gaps with a flexible bead of caulk to prevent moisture from slipping behind the machines and damaging the surrounding drywall.
Moisture Sealing for Washer-Resting Tops
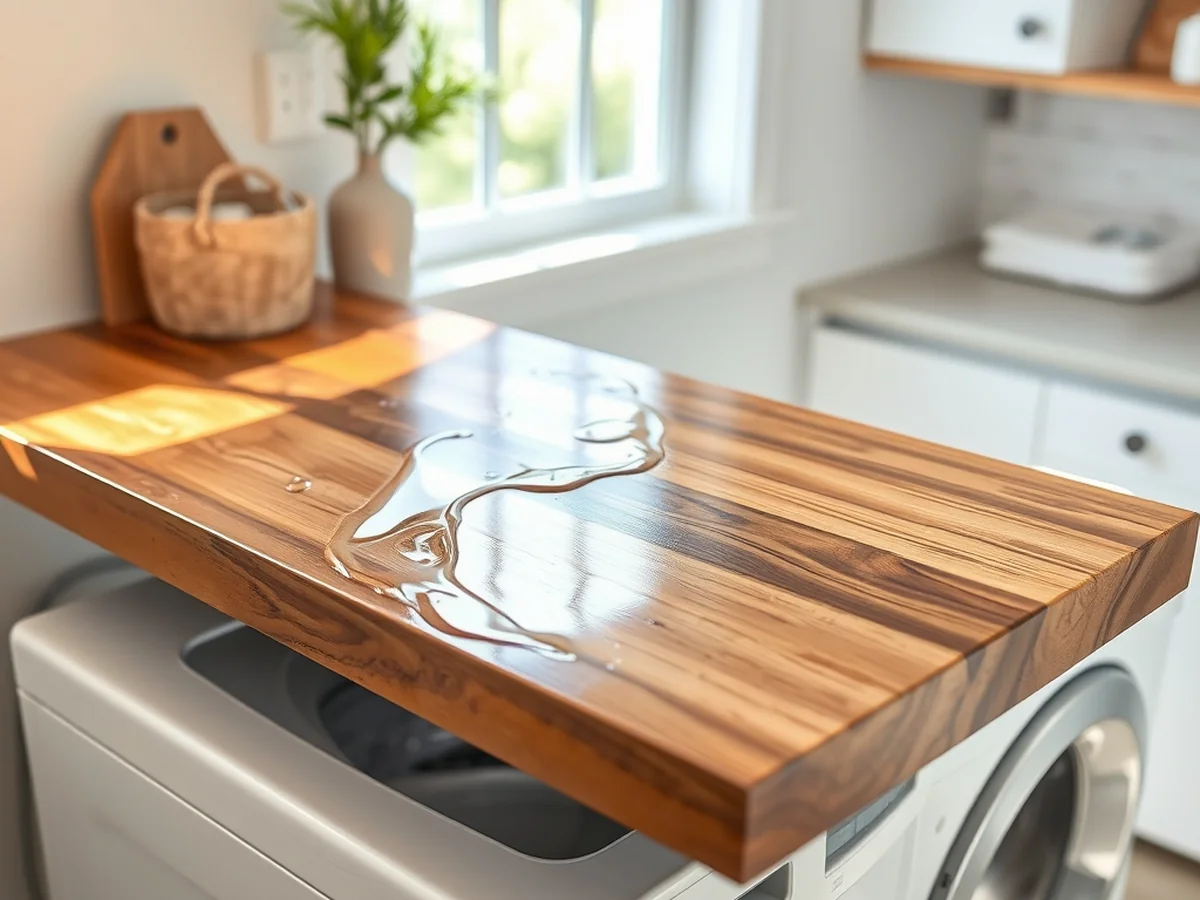
Moisture resistant finishes are necessary for wood countertops installed above laundry appliances to prevent warping and water absorption. Laundry rooms experience high humidity levels from washing and drying cycles, making proper sealing an essential step for any wooden workspace placed over your machines. Front load laundry machines allow for a continuous low profile countertop installation, which means the wood surface sits close to routine moisture sources like detergent drips and wet clothing.
Applying a water resistant topcoat requires careful preparation and steady brush technique to ensure complete coverage. Start by sanding the wood surface until smooth, then wipe away all dust particles. Brush on a coat of polyurethane in long, even strokes following the grain of the wood. Let it dry completely before lightly sanding away any imperfections or raised grain.
Apply at least three separate coats for maximum moisture defense, allowing adequate drying time between each layer. Pay special attention to the edges and corners, as these areas absorb moisture most easily and show wear first. Skipping coats or rushing drying times often leads to premature peeling when exposed to laundry room humidity.
Ongoing maintenance preserves the protective barrier over time. Wipe up standing water and detergent spills promptly. Inspect the surface periodically for dull spots or scratches, and apply a fresh maintenance coat when the finish begins to wear thin. Using stainless steel or other alternative surfaces is common guidance, but wood requires this diligent sealing routine to stay durable.
Deciding whether your wooden surface should rest directly on the washer or be mounted to surrounding wall supports depends on your specific laundry room layout and machine type. Front load laundry machines allow for a continuous low profile countertop installation, making either method viable. However, anchoring your project to the surrounding walls keeps the entire weight off your appliances and protects them from constant vibration.
To build a counter over a washer and dryer, start by measuring the exact span of your appliances and leaving a small clearance gap to prevent appliance damage. Common guidance suggests that wood cleats attached to the wall studs help secure a laundry countertop without requiring front legs. Cut your structural substrate to size, sand the edges smooth, and apply a moisture resistant finish since humidity is common in this space.
Gathering the right supplies makes assembly straightforward for any builder exploring handmade laundry station upgrade concepts. Plywood can serve as a structural substrate for a laundry room countertop, paired with dimensional lumber for wall mounting. You will also need a moisture resistant finish, wood screws, a stud finder, sandpaper, and trim pieces to hide exposed edges. Stainless steel is one option for a durable laundry room countertop surface if you prefer a sleek metal finish over wood.
Wall-mounted laundry surface support systems rely on sturdy hardware anchored directly into structural framing. Common guidance dictates that building a floating countertop requires anchoring support directly to wall studs using heavy duty brackets or wood cleats. This technique removes the need for vertical support gables and creates an open area beneath the surface for sorting baskets.
Frequently Asked Questions
What is the best way to support a countertop across a washer and dryer?
Wall mounting with sturdy wood cleats is generally preferred because it prevents appliance vibration from transferring directly to the wood surface. This approach also leaves the floor completely open for rolling hampers.
How do you build a counter over a washer and dryer?
Creating a wooden workspace above your laundry appliances typically begins by measuring the available room dimensions accurately, fastening wooden supports firmly into the wall framing at your preferred height, and setting the finished board into place.
What materials are needed for a DIY laundry countertop?
Most projects use a thick sheet of plywood or solid wood boards as the main surface. You will also need wall anchors, screws, sandpaper, and a waterproof sealant or polyurethane finish.
How do floating countertop supports work in a laundry room?
Floating supports transfer the downward load of the folding station directly into the wall framing behind the drywall. This hidden hardware setup eliminates the need for legs while maintaining a high weight capacity.
Conclusion
Deciding between resting your new surface directly on the laundry units or securing it via wall attachments depends entirely on your room layout and vibration concerns. Take time to carefully plan your exact room dimensions and select moisture resistant materials before starting any cuts. Always prioritize anchoring supports properly to wall studs to ensure long term safety and stability for your laundry workspace.
You might also like: Can You Stack Any Dryer on Any Washer Without a Universal Stacking Kit