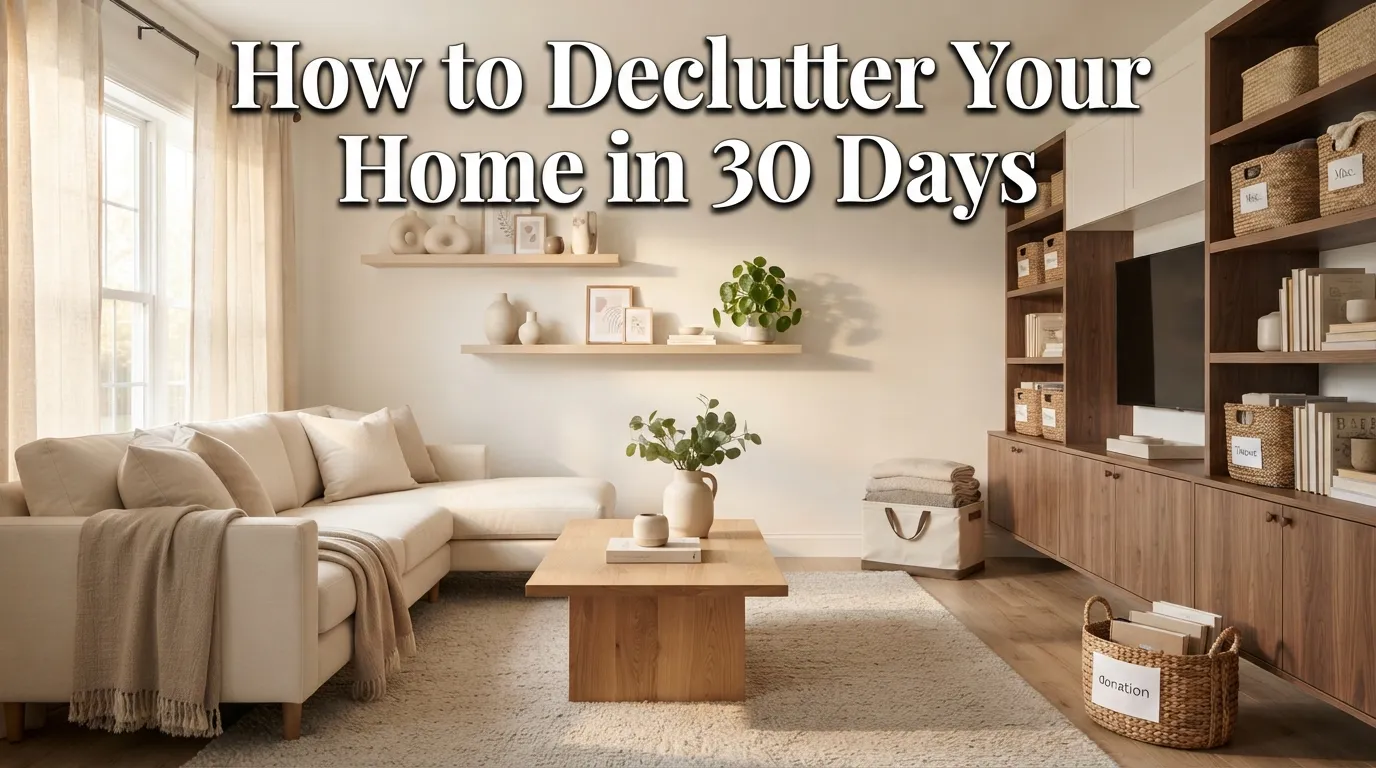
How to Declutter Your Home in 30 Days
Decluttering an entire home can sound overwhelming when you look at every closet, drawer, cabinet, shelf, and room at once. The good news is that you do not need to spend an entire weekend hauling everything out or make hundreds of decisions in one afternoon. A simple 30-day approach can make the process much more manageable.
The biggest advantage of a month-long decluttering plan is that it gives you enough time to work through your home without turning the project into an exhausting event. Instead of trying to create a perfectly organized house overnight, you can focus on one manageable category or area at a time.
In my experience, the hardest part of decluttering is often not the physical work. It is deciding what deserves space in your home. We keep things because they were expensive, because they might be useful someday, because they belonged to someone we love, or simply because we have become accustomed to seeing them. A good decluttering routine helps you make those decisions more intentionally.
This 30-day plan starts with easy wins before moving into areas that usually require more time and thought. You will work through visible clutter, clothing, bathrooms, kitchen storage, paperwork, bedrooms, living spaces, and those miscellaneous areas that tend to become catch-alls.
You also do not have to follow the plan perfectly. If one day takes longer than expected, move the next task forward. If your home is already fairly organized, combine a few smaller days and spend more time on your biggest problem areas.
The goal is not an empty house. The goal is a home where the things you own are useful, meaningful, or genuinely enjoyable—and where your rooms are easier to clean, maintain, and live in.
Table of Contents

1. Start With Visible Clutter
Begin with the surfaces and areas that create the strongest feeling of mess.
2. Sort Your Clothes
Create a simpler wardrobe by removing pieces that no longer serve your everyday life.
3. Clear Bathroom Storage
Reduce expired, duplicated, and forgotten personal-care products.
4. Simplify The Kitchen
Make cabinets, drawers, counters, and pantry areas easier to use.
5. Organize Paperwork
Create a manageable system for important documents and everyday paper clutter.
6. Refresh Bedrooms
Remove excess belongings and create calmer sleeping spaces.
7. Tackle Living Areas
Clear decorative, entertainment, and everyday household clutter.
8. Conquer Hidden Spaces
Work through closets, drawers, garages, basements, and other neglected areas.
9. Handle Sentimental Items
Make thoughtful decisions about keepsakes without rushing emotional choices.
10. Create A Reset Routine
Build simple habits that prevent clutter from quickly returning.
1. Start With Visible Clutter

Quick Benefits
- Creates an immediate sense of progress
- Makes rooms feel cleaner quickly
- Helps identify larger problem areas
- Builds motivation for the rest of the month
- Requires little organization equipment
Why It Works
Visible clutter has an outsized effect on how clean a home feels. A kitchen counter covered with mail, appliances, bags, and miscellaneous objects can make the entire room appear messy even when cabinets and drawers are perfectly organized. Starting with visible surfaces gives you an immediate visual improvement, which can make the rest of the process feel much more achievable.
Rather than opening every cabinet on the first day, walk through your home and identify the surfaces that collect things most frequently. Entry tables, kitchen counters, coffee tables, bathroom counters, nightstands, and dining tables are common examples.
The objective is not to find a permanent home for every object immediately. First, determine what belongs in the room, what belongs elsewhere, what can be donated, what should be discarded, and what requires a separate decision.
How To Style It
Start with one room and work clockwise around it. Clear one surface completely before moving to the next.
Create four temporary categories: keep, relocate, donate, and discard. Use boxes, reusable shopping bags, or laundry baskets to separate the categories.
Once the surface is empty, clean it before returning anything. Then put back only the items you use regularly or genuinely want displayed.
For example, a kitchen counter might need a coffee maker, fruit bowl, and one decorative object. It probably does not need unopened mail, shopping receipts, random chargers, children’s papers, and five appliances.
Do not purchase decorative storage containers yet. Decluttering should come before organizing. Otherwise, it is easy to spend money creating attractive storage for things you ultimately decide you do not need.
End the day by taking donation items out of the room and placing trash where it can actually leave the house. Seeing the cleared space is part of the motivation.
2. Sort Your Clothes

Quick Benefits
- Makes getting dressed easier
- Frees closet and drawer space
- Reveals duplicate purchases
- Reduces decision fatigue
- Makes laundry and storage easier
Why It Works
Clothing is one of the most challenging categories because many pieces carry emotional or financial associations. You may keep something because it was expensive, because you wore it during an important event, or because you hope it will fit differently someday.
A useful wardrobe is not necessarily a small wardrobe. It is one where the clothes you own match your current lifestyle and are easy to access.
Look at your clothing honestly. Are you keeping work clothes you no longer need? Do you have several nearly identical sweaters? Are there items that are uncomfortable but still occupying premium closet space?
Decluttering clothing can also reveal what you actually like wearing. After removing pieces you consistently ignore, the remaining wardrobe often becomes easier to understand.
How To Style It
Divide the clothing process across several sessions rather than emptying the entire closet onto your bed.
Start with obvious decisions: stained, damaged, uncomfortable, poorly fitting, or rarely worn pieces. Then move into more difficult categories.
Ask yourself:
- Does this fit my current life?
- Have I worn it recently?
- Would I buy it again today?
- Do I feel comfortable wearing it?
- Do I have something similar that I prefer?
Create a small separate pile for items that need repair. Give yourself a deadline for completing those repairs. If an item remains untouched after that deadline, reconsider whether it deserves the space.
Use matching or coordinated hangers if you already have them, but do not make buying hangers the focus. First reduce the volume.
Fold everyday clothes vertically or stack them in manageable groups. Store seasonal pieces separately when practical, especially if closet space is limited.
For sentimental clothing, such as a wedding dress or meaningful baby clothes, create a separate keepsake category. Emotional items do not need to be handled with the same rules as ordinary T-shirts.
3. Clear Bathroom Storage
Quick Benefits
- Removes expired products
- Frees valuable cabinet space
- Makes daily routines faster
- Reduces duplicate purchases
- Creates easier-to-clean counters
Why It Works
Bathrooms often accumulate clutter quietly. A half-used bottle gets pushed behind a newer product, samples disappear into drawers, and several nearly identical skincare or hair-care products slowly take over valuable storage.
Because bathrooms tend to be smaller than other rooms, even a modest amount of excess can make them feel crowded.
Start by removing products that are clearly expired, damaged, empty, or no longer appropriate for your routine. Then look for duplicates. You may discover that you own multiple unopened products simply because the existing ones were difficult to see.
Decluttering bathroom storage also improves visibility. When you can see what you have, you are less likely to buy another product unnecessarily.
How To Style It
Work one bathroom zone at a time.
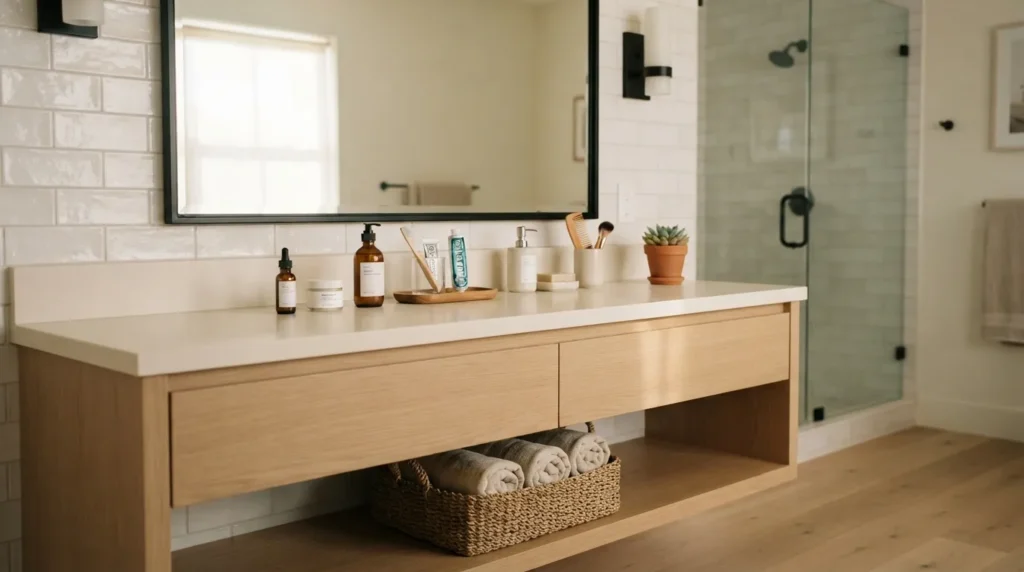
Start with the countertop. Remove everything and clean the surface. Return only the items that need to remain accessible.
Next, work through drawers and cabinets. Group products by function: skincare, hair care, dental care, first aid, grooming, and everyday essentials.
Pay attention to products with expiration or discard guidance, especially items where freshness affects safe use. When uncertain about whether a product is still suitable, follow the manufacturer’s guidance rather than guessing.
Use small containers only after you have reduced the contents. Clear bins can be useful for grouping small items, while shallow organizers can prevent drawers from becoming mixed-up collections.
Keep everyday products within easy reach and less frequently used items farther back.
A simple tray on the countertop can also make necessary products look intentional. Choose a few attractive containers for items you use every day and store everything else out of sight.
4. Simplify The Kitchen
Quick Benefits
- Makes cooking easier
- Frees cabinet space
- Reduces duplicate items
- Creates clearer countertops
- Makes meal preparation more efficient
Why It Works
Kitchen clutter can be particularly frustrating because many items are both useful and bulky. A home can accumulate extra mugs, food-storage containers, serving dishes, utensils, appliances, baking equipment, and gadgets without anyone consciously deciding to collect them.
The key is to organize according to how you actually use the kitchen.
If you cook frequently, your most-used tools should be accessible. If you rarely bake, baking equipment does not need to occupy your best everyday storage.
Duplicate items are another common problem. You might genuinely need several dinner plates, but you probably do not need an enormous collection of mugs that rarely leave the cabinet.
How To Style It
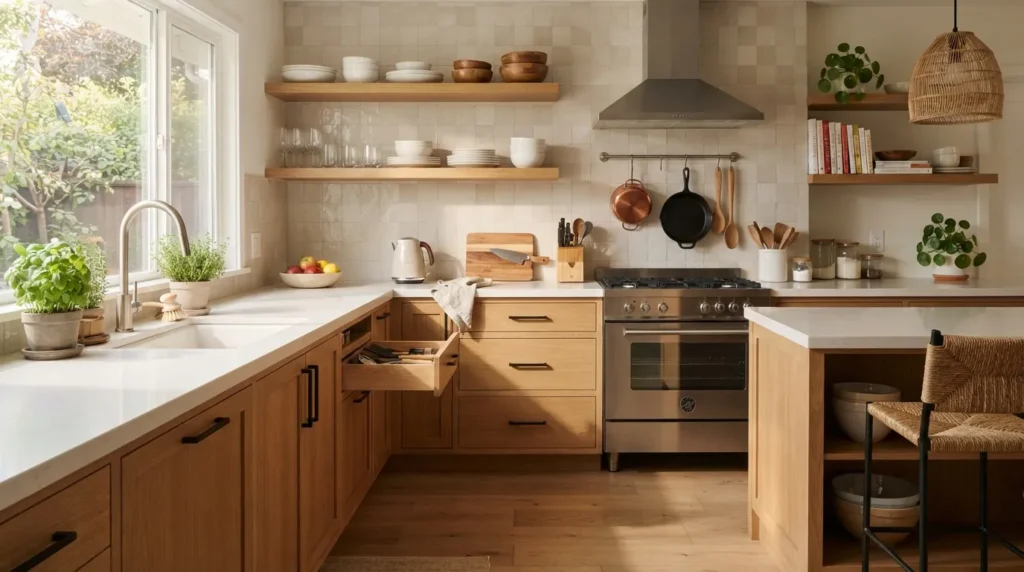
Start with the kitchen counter because clearing it often produces the biggest immediate visual improvement.
Keep appliances you use frequently and relocate or store appliances that are used occasionally.
Then work through one cabinet or drawer at a time.
For food containers, match lids with containers and discard pieces that no longer have a useful partner. Do the same with water bottles and travel cups.
Look at utensils critically. If you have five versions of the same tool but always reach for the same one, consider whether all five deserve space.
Move rarely used serving pieces to higher or less convenient storage if you still want to keep them.
In the pantry, group similar foods together and bring older items toward the front. Discard food that is clearly spoiled or otherwise unsafe according to applicable food-safety guidance.
Do not decant everything simply because it looks beautiful online. A container system should improve your daily routine, not create extra work.
5. Organize Paperwork
Quick Benefits
- Reduces visual stress
- Makes important documents easier to find
- Prevents paper piles from growing
- Creates a repeatable system
- Frees desk and counter space
Why It Works
Paper clutter can feel more intimidating than physical objects because some documents require careful decisions. Bills, receipts, school papers, tax documents, warranties, medical records, manuals, and personal paperwork can quickly become mixed together.
The solution is not necessarily to throw everything away. It is to create a simple system that distinguishes documents you need to keep from paper that can be recycled or securely disposed of.
A major mistake is creating a giant “important papers” box without categories. When everything is considered important, finding one document becomes difficult.
Instead, aim for a small number of clear categories that reflect your household.
How To Style It
Create a temporary paper-sorting station with four groups: action, file, shred, and recycle.
Action papers are things that require attention. Put them somewhere visible but contained.
Files should be categorized according to your household needs. Possible categories include home, vehicle, taxes, insurance, financial records, education, and warranties.
For sensitive personal information, use an appropriate secure disposal method rather than placing documents with identifying information directly into ordinary recycling.
Digitally available documents can sometimes reduce physical storage, but do not automatically scan and keep every piece of paper. That simply moves the clutter from a drawer to a computer.
Keep only documents that serve a clear purpose or that you are required to retain.
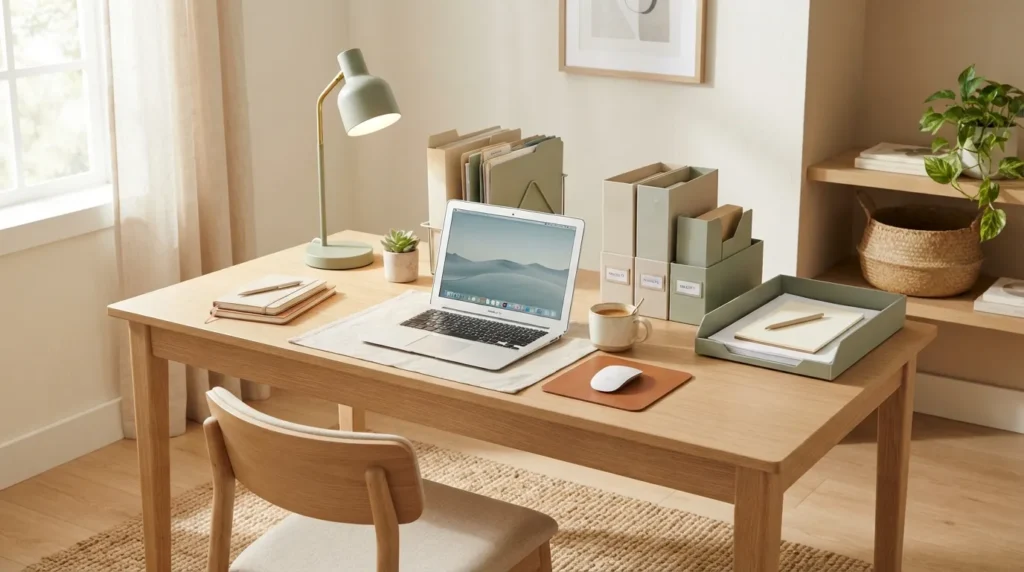
At the end of the session, establish one permanent location for incoming paperwork. A simple tray can prevent papers from spreading across multiple surfaces.
6. Refresh Bedrooms
Quick Benefits
- Creates a calmer sleeping environment
- Makes cleaning easier
- Reduces visual distractions
- Improves closet organization
- Gives forgotten belongings a decision point
Why It Works
Bedrooms should support rest, but they can easily become storage areas for items that do not have a proper home. Clothes accumulate on chairs, nightstands collect books and chargers, and under-bed storage becomes a place where forgotten possessions disappear.
A calmer bedroom begins with reducing what is visible.
Start with the floor, nightstands, dresser tops, and the area around the bed. These surfaces have a strong influence on how the room feels when you enter it.
You do not need to create a minimalist bedroom. Personal photographs, books, artwork, and decorative objects can all contribute warmth. The goal is simply to make sure those items are intentional rather than accidental clutter.
How To Style It
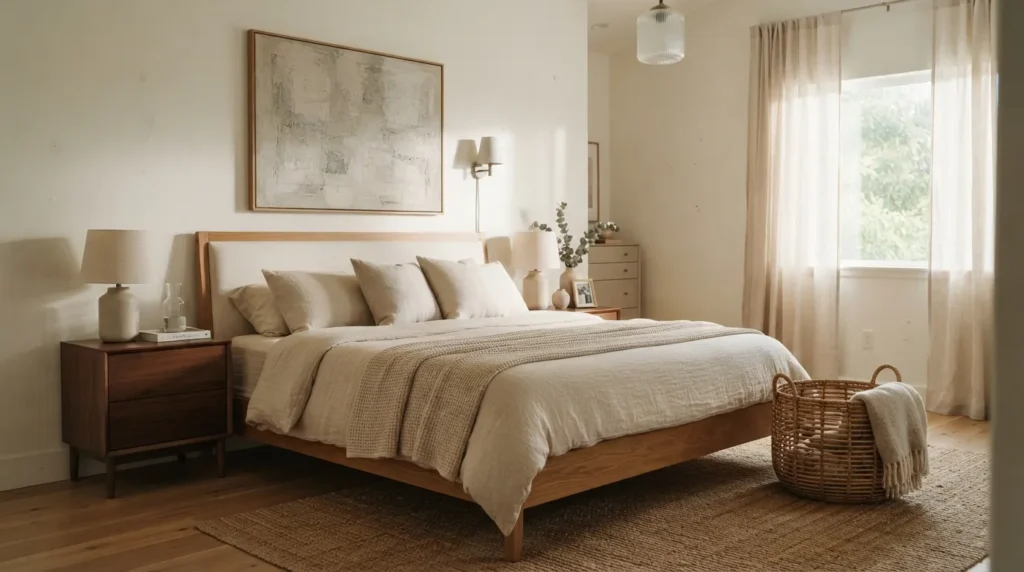
Clear the nightstands completely. Return only the items you genuinely use or enjoy seeing before bed.
A lamp, book, small tray, or framed photograph may be enough.
Next, deal with clothing. Anything clean should be put away. Anything dirty should go directly into the laundry system. Anything that needs repair should go into the repair category.
Check under the bed. If storage containers are filled with things you have forgotten about, take that as useful information. You may be ready to let go of some of those belongings.
For dressers, group clothing by type and avoid overfilling drawers. If you have to force a drawer closed, you probably have more clothing in that category than the space comfortably holds.
Finish by simplifying decorative surfaces. A few meaningful pieces usually look better than a crowded collection.
7. Tackle Living Areas
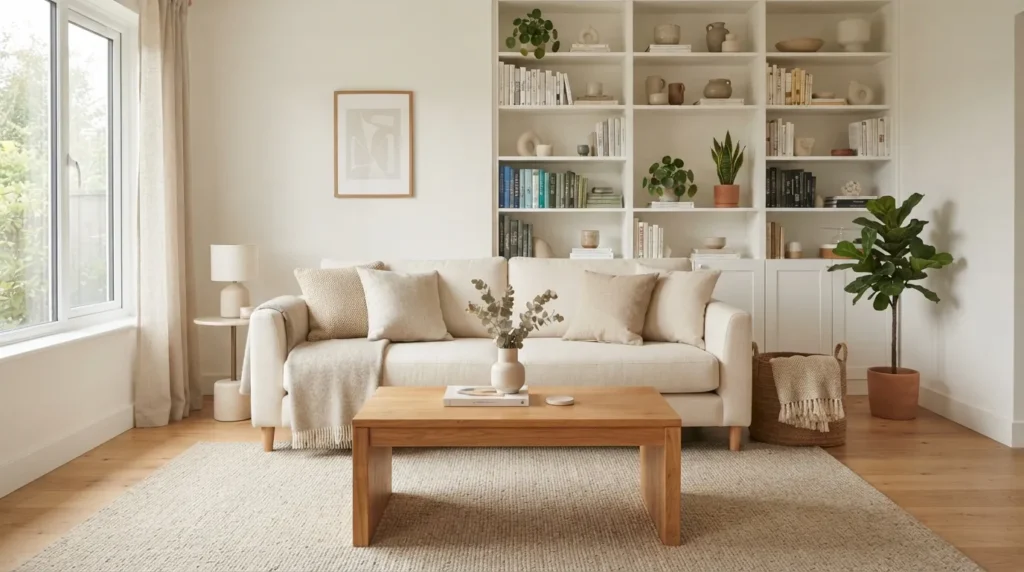
Quick Benefits
- Creates a more welcoming home
- Reduces everyday visual noise
- Makes entertaining easier
- Simplifies cleaning
- Clarifies your home’s style
Why It Works
Living rooms often collect objects from every part of the house. Remote controls, toys, blankets, books, mail, electronics, hobby supplies, and decorative pieces can all end up competing for space.
Because the living room is often one of the most frequently used areas, reducing clutter here can have an immediate impact on how the entire home feels.
Look at the room from the doorway. Instead of immediately opening cabinets and drawers, notice what your eyes are drawn to. Is the coffee table crowded? Are shelves overloaded? Is there a chair that has become a permanent clothing pile?
These observations can tell you where your biggest problems are.
How To Style It
Start with the coffee table. Remove everything, clean it, and return only a few intentional pieces.
A tray can contain remote controls, while a decorative bowl can hold small everyday items. Books, a candle, or a small vase can complete the arrangement without filling the entire surface.
Next, work through shelves. Remove objects that no longer match your style or have simply become invisible because you have seen them for years.
For children’s belongings, establish one or two designated storage zones instead of allowing toys to spread throughout the room.
Look carefully at blankets and pillows. Keep the pieces you use and enjoy, but avoid storing so many extras that the living room becomes a textile storage area.
The goal is a comfortable room with enough open space for everyday life.
8. Conquer Hidden Spaces
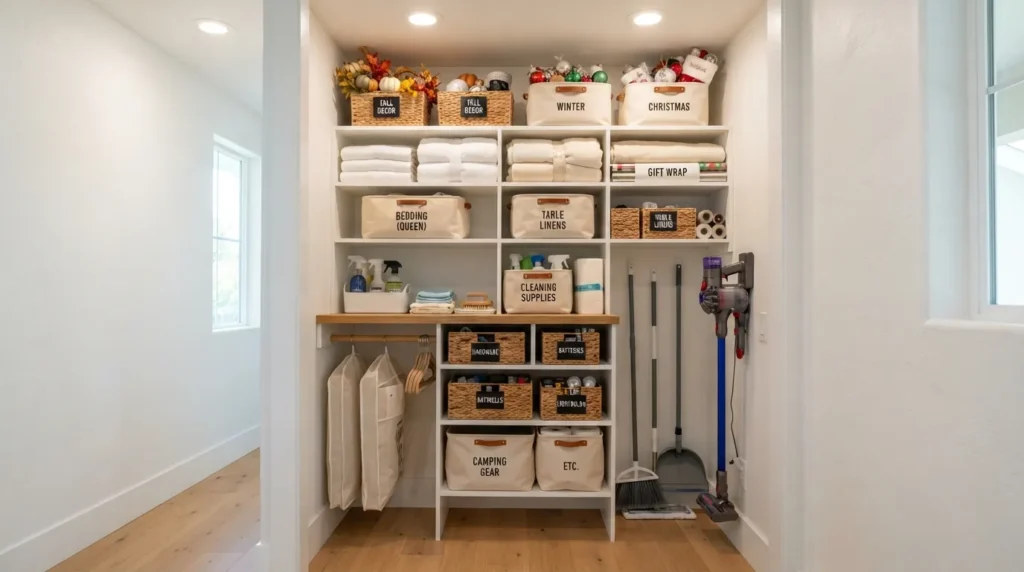
Quick Benefits
- Eliminates long-term storage clutter
- Frees valuable space
- Makes seasonal transitions easier
- Prevents forgotten items from accumulating
- Completes the decluttering process
Why It Works
Hidden spaces are often where decluttering projects become difficult. Closets, garages, basements, attics, utility rooms, storage rooms, and miscellaneous drawers can contain belongings that have not been used in years.
These spaces deserve attention because they influence how the rest of your home functions. When storage areas are packed, everyday belongings have nowhere to go, which pushes clutter back into visible rooms.
Do not attempt every hidden area in one day. Divide them into manageable zones.
A garage, for example, might need several separate sessions: tools, sports equipment, seasonal decorations, automotive supplies, and miscellaneous storage.
How To Style It
Choose one hidden storage zone at a time.
Take everything out only when the area is small enough to manage. For larger spaces, work shelf by shelf or section by section.
Ask whether each item is actually being stored or simply being postponed.
A useful question is: If I needed this today, would I know exactly where it was?
If the answer is no, the storage system may need improvement.
Keep similar items together. Seasonal decorations can share one clearly labeled area. Tools should be grouped together. Camping equipment should not be scattered across three different corners.
Use sturdy containers for genuinely useful belongings. Transparent containers can improve visibility, while labels can help when the contents are not obvious.
Do not create a beautifully organized storage space filled with things you should have donated. Decluttering always comes first.
9. Handle Sentimental Items
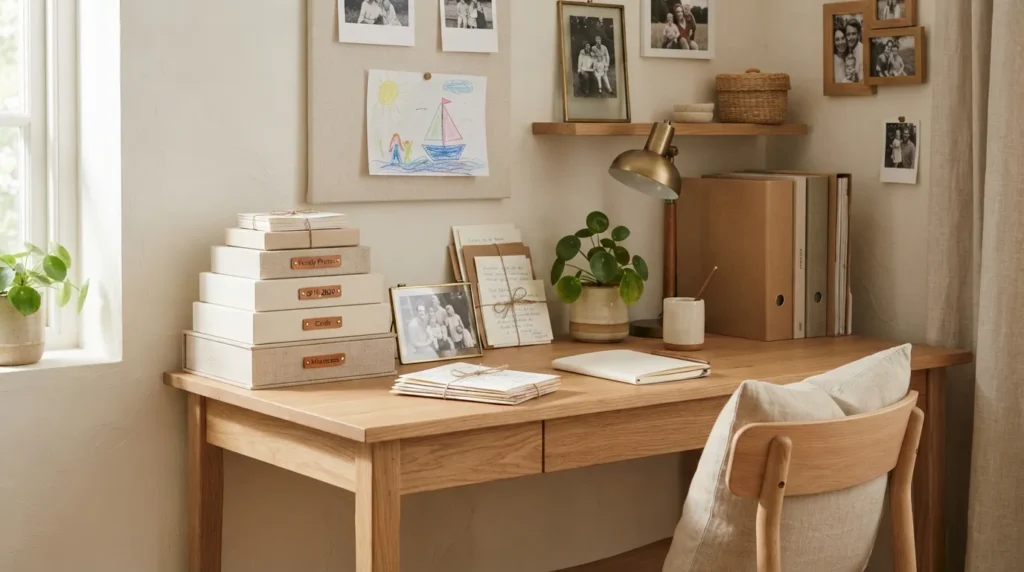
Quick Benefits
- Reduces emotional clutter
- Preserves meaningful memories
- Prevents keepsakes from taking over storage
- Encourages thoughtful decisions
- Creates better long-term storage
Why It Works
Sentimental clutter requires a different approach. It is easy to make decluttering advice sound simple until you reach a box of family photographs, childhood artwork, old letters, inherited belongings, or clothing connected to important memories.
The goal is not to force yourself to discard meaningful possessions.
Instead, separate the emotional value of the memory from the physical volume of objects. You may not need every item to preserve what the collection means to you.
Take your time with sentimental belongings. Unlike expired products or duplicate kitchen tools, these items often deserve slower decisions.
You can also create a hierarchy. Some objects may be deeply meaningful, while others are simply familiar because you have kept them for a long time.
How To Style It
Create a dedicated keepsake category.
Start with easy decisions rather than the most emotional box. This helps you build confidence before handling difficult belongings.
For photographs, consider organizing them by person, year, event, or another system that makes sense for your family.
For children’s artwork, select a limited collection of favorites rather than attempting to preserve every drawing.
For inherited belongings, ask whether you genuinely want to use, display, or preserve the item. Keeping something solely because you feel guilty can make your home harder to manage.
If several objects tell the same story, choose the one that represents the memory best.
Use an appropriate archival storage method for photographs and important paper keepsakes when preservation matters.
Most importantly, do not rush. A 30-day plan should create momentum, not pressure you into decisions you may regret.
10. Create A Reset Routine

Quick Benefits
- Prevents clutter from returning
- Makes cleaning easier
- Reduces future decluttering sessions
- Creates household consistency
- Keeps your home manageable
Why It Works
Decluttering is not finished when the last donation bag leaves the house. Without a simple maintenance routine, belongings can gradually return to countertops, drawers, closets, and floors.
The good news is that maintenance usually takes much less effort than the original decluttering project.
The goal is not to clean your entire home every day. Instead, create small habits that interrupt clutter before it becomes overwhelming.
A few minutes of daily resetting can make a noticeable difference.
The most useful routines are usually attached to things you already do. For example, clearing the kitchen before bed, returning clothing to its proper place after changing, or sorting incoming mail when it enters the house.
How To Style It
Choose three daily reset habits.
One could be a five-minute evening surface reset. Walk through the main living areas and return objects to their homes.
Another could be a kitchen closing routine. Put dishes away, clear counters, and return food-storage items to their proper places.
A third could be a clothing rule: anything worn but still clean goes back to its designated place rather than becoming a permanent chair pile.
Then establish a weekly reset. Spend 15–30 minutes reviewing the areas that collect clutter fastest.
Use a one-in, one-out rule selectively for categories that tend to grow, such as clothing, mugs, children’s toys, or decorative accessories. When a new item enters, consider whether something similar should leave.
The objective is not perfection. It is creating a home that is easy enough to maintain that clutter never has a chance to become overwhelming again.
Your 30-Day Decluttering Calendar
The easiest way to use these ideas is to turn them into small daily assignments.
Days 1–3: Visible Areas
Day 1: Entryway and drop zone
Day 2: Kitchen countertops
Day 3: Dining table, coffee table, and living-room surfaces
Days 4–7: Clothing
Day 4: Everyday tops and shirts
Day 5: Pants, skirts, and dresses
Day 6: Shoes, bags, and accessories
Day 7: Pajamas, workout clothes, and seasonal pieces
Days 8–10: Bathrooms
Day 8: Bathroom countertops and drawers
Day 9: Toiletries, skincare, and hair products
Day 10: Towels, linens, medicine storage, and bathroom cabinets
Days 11–14: Kitchen
Day 11: Utensils and kitchen tools
Day 12: Food-storage containers and drinkware
Day 13: Pantry and refrigerator
Day 14: Appliances, cookware, and serving pieces
Days 15–17: Paper
Day 15: Mail and paperwork piles
Day 16: Filing cabinet and important documents
Day 17: Manuals, receipts, warranties, and miscellaneous paper
Days 18–20: Bedrooms
Day 18: Nightstands and dresser surfaces
Day 19: Bedroom drawers and under-bed storage
Day 20: Linens, blankets, pillows, and miscellaneous bedroom items
Days 21–23: Living Areas
Day 21: Books and media
Day 22: Toys, games, hobbies, and electronics
Day 23: Decorative accessories and miscellaneous items
Days 24–26: Hidden Storage
Day 24: Hall closets and utility storage
Day 25: Garage or basement zone
Day 26: Seasonal decorations and outdoor equipment
Days 27–28: Sentimental Items
Day 27: Photos, cards, papers, and children’s artwork
Day 28: Gifts, inherited items, and personal keepsakes
Day 29: Donation And Disposal
Gather everything you have decided to remove. Separate donations, recycling, trash, returns, repairs, and items that need another destination.
Do not let bags sit indefinitely in the house. Move each category toward its final destination.
Day 30: Whole-Home Reset
Walk through your home with fresh eyes.
Look at the areas you worked on during the month. Return anything that has drifted out of place. Notice which areas are already starting to accumulate clutter again.
This final day is not about starting another giant project. It is about learning what systems your home needs to remain comfortable.
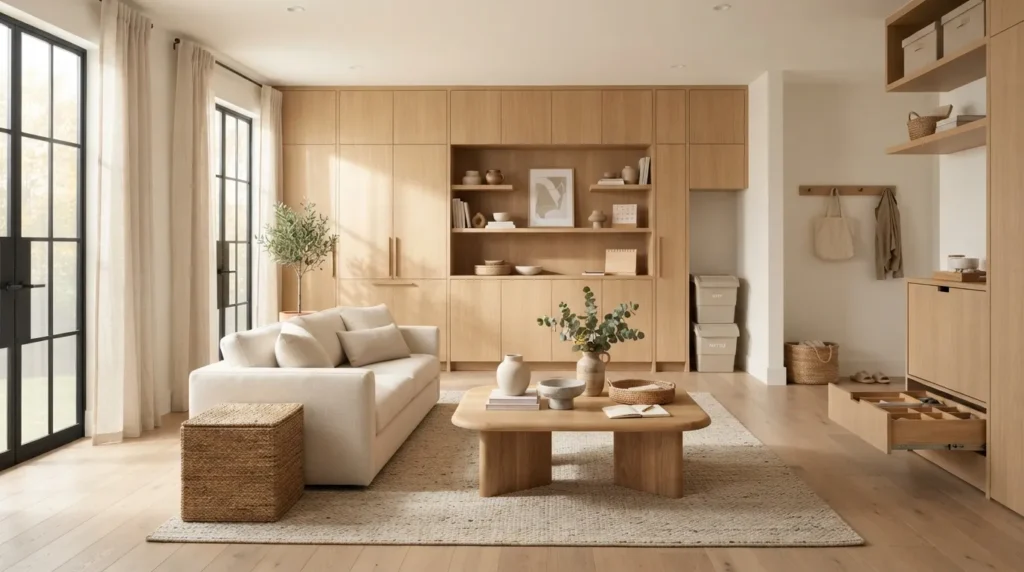
What To Do With Decluttered Items
One of the easiest ways to accidentally undo your progress is to create a giant pile of things to deal with “later.”
Give every outgoing category a destination.
Donate: Items in usable condition that you no longer need.
Recycle: Materials accepted through your local recycling program.
Discard: Broken, damaged, contaminated, or otherwise unusable items that cannot reasonably be reused.
Return: Items that belong to someone else.
Sell: Higher-value belongings that are worth the time and effort required to list and sell them.
Be realistic about selling. If you have a large amount of low-value clutter, spending weeks photographing, listing, messaging, packing, and shipping may keep the clutter inside your home longer.
For valuable items, selling can make sense. For inexpensive items, donating may provide a faster and more practical solution.
For electronics, batteries, chemicals, medications, and other potentially hazardous materials, follow appropriate local disposal or recycling guidance rather than putting them in ordinary household trash.
Decluttering Rules That Make Decisions Easier
When you are unsure about an item, a few simple questions can help.
Do I use it?
An item that serves a regular purpose is easier to justify than something that has sat untouched for years.
Would I buy it again?
Imagine seeing the item in a store today. Would you willingly spend money on it?
Does it fit my current life?
Your belongings should support your actual lifestyle rather than an imaginary future version of yourself.
Do I own something better?
Duplicates are one of the easiest categories to reduce.
Is it worth the space?
Storage has value. Every item occupies physical space and requires some level of maintenance.
Am I keeping it out of guilt?
If the only reason you are keeping something is guilt, pause before automatically putting it back.
Can someone else use it?
If an item is useful but no longer useful to you, donating it can give it a second life.
These questions are not strict rules. They are tools for making decisions more consciously.
How To Keep Your Home Decluttered
Once you have completed the 30-day project, resist the temptation to immediately fill your newly available space.
Open shelves do not need to be filled. Empty drawers are not a problem. Clear countertops are useful.
Before buying something new, think about where it will live.
This one habit can prevent a surprising amount of future clutter.
Another helpful strategy is creating a donation box or bag in a convenient storage location. When you notice an item you no longer need, put it directly into the box. Once the box is full, take it to its destination.
You can also schedule a short monthly decluttering session. Choose one category each month rather than waiting until your home feels overwhelmed again.
Seasonal transitions are especially useful. When switching wardrobes, holiday decorations, outdoor equipment, or bedding, review what you are storing before putting everything away.
If something has remained unused through an entire season and has no meaningful purpose, it may deserve another look.
The goal is to make decluttering part of normal home maintenance rather than treating it as an emergency project.
FAQ
How long does it take to declutter a house?
The time depends on the home’s size, the amount of belongings, and how quickly you make decisions. A 30-day plan works by breaking the process into smaller sessions rather than requiring one huge cleanup. Some days may take 15 minutes, while larger categories such as closets or garages can take an hour or more.
What should I declutter first?
Start with highly visible, low-emotion areas such as countertops, entryways, tables, and obvious trash. These spaces provide quick visual progress and can build motivation. After that, move into categories such as clothing, bathrooms, kitchens, paperwork, and storage areas that require more decisions.
What is the fastest way to declutter your home?
The fastest approach is to work by category or defined area and make clear decisions as you go. Separate belongings into keep, relocate, donate, discard, and other necessary categories. Avoid organizing items you have not yet decided to keep, because that can add unnecessary work.
How do I declutter when everything feels important?
Start with easier categories and ask practical questions about use, duplicates, condition, and whether the item fits your current lifestyle. Save sentimental belongings for later. You do not need to make every difficult decision in one session. Decluttering becomes easier as you gain experience making smaller decisions.
Should I sell everything I do not want?
Not necessarily. Selling can make sense for valuable items, but listing inexpensive belongings can take considerable time. Consider the item’s value, your available time, and how quickly you want the clutter to leave your home. Donation can be a practical option for many usable items.
How do I declutter without becoming overwhelmed?
Break the project into small sessions and work on one defined area at a time. Avoid pulling everything from the entire house into one giant pile. Give yourself permission to stop when the scheduled task is complete. Consistency is more useful than trying to finish everything in one exhausting weekend.
How do I stop clutter from coming back?
Create simple daily and weekly reset habits. Return items to their designated homes, process incoming paperwork, clear kitchen counters, and regularly remove belongings you no longer use. A one-in, one-out approach can also help control categories that naturally grow, such as clothing and decorative accessories.
Conclusion
Decluttering your home does not have to mean spending an entire weekend surrounded by piles of belongings or making extreme minimalist decisions. A 30-day approach gives you something much more sustainable: time to work through your home thoughtfully, one manageable area at a time.
Start with visible clutter so you can see progress quickly. Move through clothing, bathrooms, kitchens, paperwork, bedrooms, and living areas before tackling hidden storage. Save sentimental belongings for later, when you have built confidence and can approach emotional decisions without feeling rushed.
Remember that the purpose of decluttering is not simply to own fewer things. It is to create a home that works better for the way you actually live.
A clear kitchen counter can make cooking easier. An organized closet can simplify getting dressed. A calmer bedroom can feel more restful. An accessible storage area can save you from buying duplicates because you forgot what you already owned.
Most importantly, do not aim for perfection. Homes are meant to be lived in. Things will move, laundry will pile up, packages will arrive, and everyday life will create some mess.
The goal is to create enough space and simple enough systems that returning your home to order does not feel like an enormous project.
Start with one drawer, one countertop, or one closet today. Then continue tomorrow. Thirty small steps can create a surprisingly meaningful change.
Related Articles
- 10 Home Organization Ideas for a Clutter-Free House
- 11 Small Space Storage Ideas That Actually Work
- 10 Pantry Organization Ideas for a More Functional Kitchen
- 10 Bedroom Organization Ideas for a Calm and Tidy Space
- 11 Entryway Organization Ideas for a Clutter-Free Home