10 DIY Wall Art Ideas with Botanical Prints
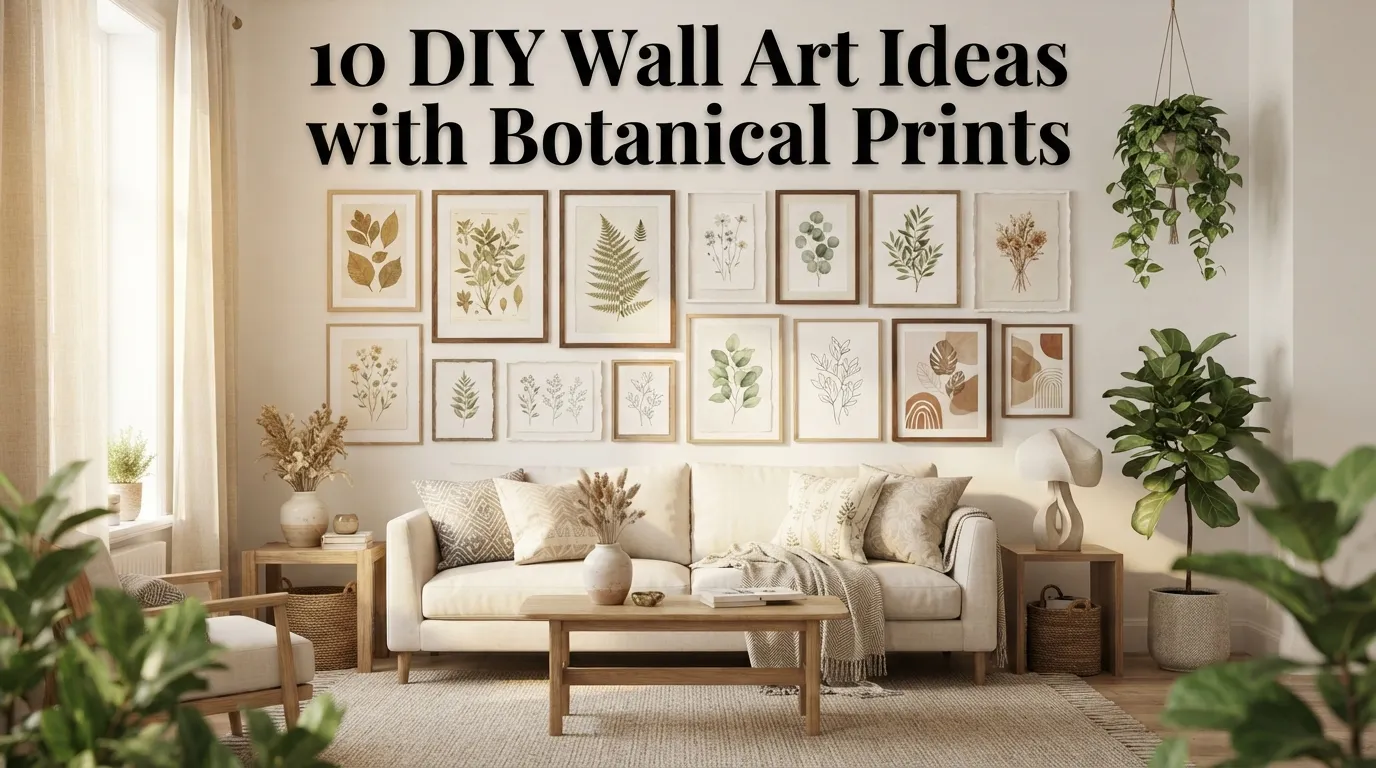
If you’ve been staring at a blank wall for weeks, unsure of what to hang there, you’re far from alone. I’ve talked to so many homeowners and renters who default to store-bought canvas art out of convenience, only to end up with a wall that looks like everyone else’s. Botanical prints solve that problem beautifully, and the best part is you don’t need to spend a fortune or have any professional art background to pull it off yourself.
A mistake many people make is assuming DIY wall art has to look homemade in a bad way — uneven, amateurish, or obviously budget. That couldn’t be further from the truth. With the right approach, botanical print wall art can look every bit as polished as something from a high-end home decor store, at a fraction of the cost.
In my experience, botanical prints are one of the most forgiving DIY art styles for beginners. Leaves, stems, and florals have natural imperfections built into their shape, so there’s no pressure to create perfectly straight lines or flawless symmetry. That’s why many designers recommend botanical themes specifically for DIY projects — the organic subject matter hides small mistakes while still looking intentional and refined.
This guide walks through ten different ways to bring botanical wall art into your home, ranging from beginner-friendly print projects to more involved framed displays, so you can find the approach that fits your skill level, budget, and personal style.
Table of Contents
- Pressed Leaf Frames — Turning real leaves into simple framed art.
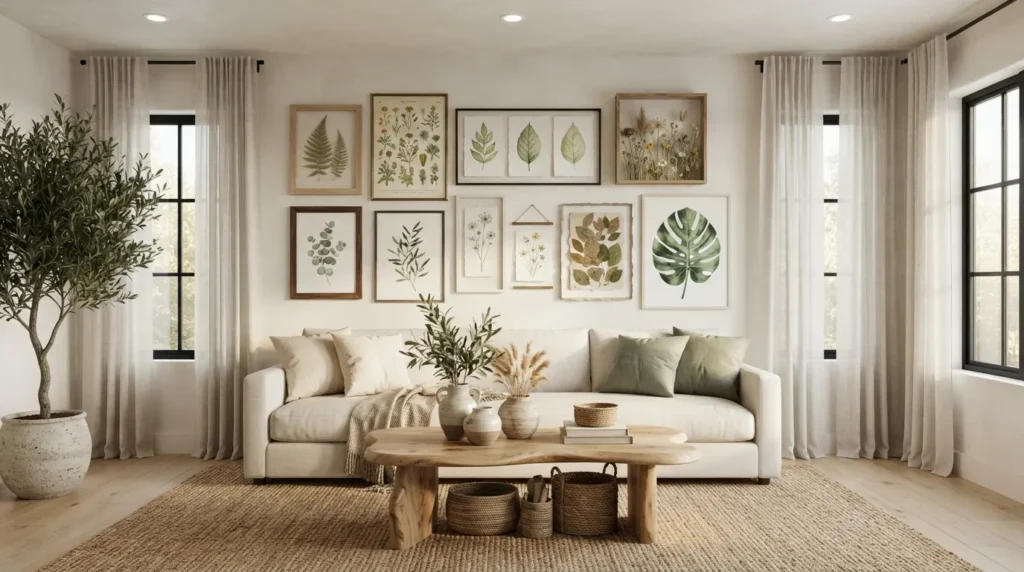
- Botanical Print Gallery Wall — Grouping prints for a curated, layered look.
- Watercolor Botanical Sketches — A hand-painted approach for a soft, artistic feel.
- Vintage Botanical Reprints — Using free public domain images for classic charm.
- Fabric Botanical Panels — Creating textile-based art with fabric and embroidery hoops.
- Monochrome Line Art Prints — A modern, minimalist take on botanical themes.
- Dried Flower Shadow Boxes — Preserving real florals in dimensional frames.
- Botanical Stencil Wall Panels — Painting an oversized botanical mural directly on the wall.
- Framed Seed Packet Art — A charming, vintage-inspired display idea.
- Large Scale Leaf Silhouettes — Bold statement art using simple cut shapes.
1. Pressed Leaf Frames
Quick Benefits
- Extremely low-cost, often using materials you already have
- Beginner-friendly with no artistic skill required
- Creates a natural, organic look
- Easy to customize by season or location
- Works in nearly any room style
Why It Works
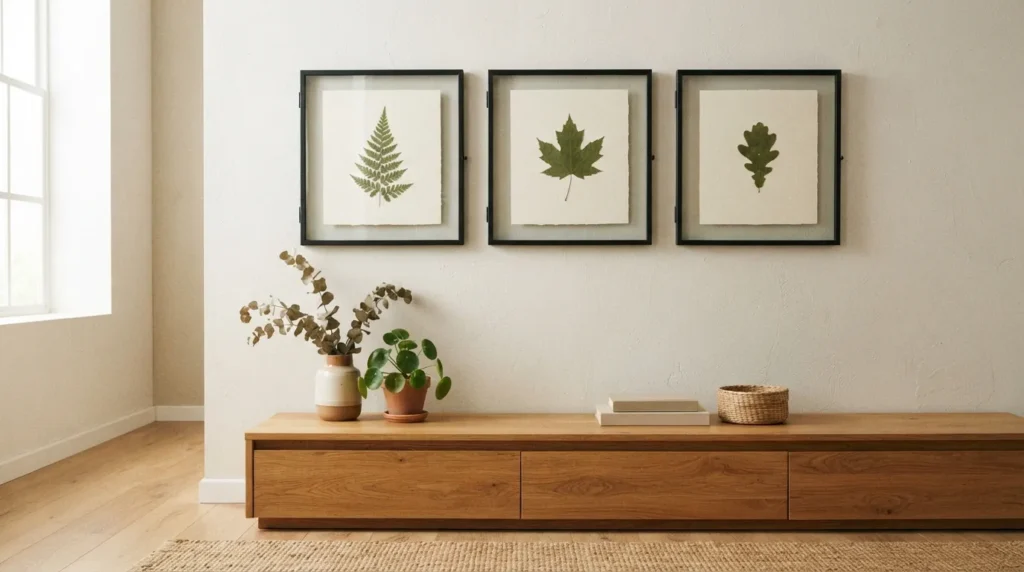
Pressed leaf art is one of the simplest entry points into botanical DIY decor because the leaf itself does most of the visual work. I’ve noticed that even a single, well-pressed leaf in a simple frame can look surprisingly gallery-worthy when given enough negative space around it. This approach also carries a personal, sentimental quality, especially when leaves are collected from a meaningful location like a backyard or a favorite hiking trail.
How To Style It
Press leaves flat between heavy books for one to two weeks until fully dried, then mount them on a neutral cardstock background using a small dot of glue. Choose simple, thin-frame options in black, white, or natural wood to keep the focus on the leaf itself. Group two or three frames of varying leaf shapes together for a curated botanical moment above a console table or in a hallway.
2. Botanical Print Gallery Wall
Quick Benefits
- Fills a large wall without a single oversized piece
- Allows mixing of styles, frame types, and print sizes
- Adds depth and visual interest to any room
- Easy to update or rearrange over time
- Works well in living rooms, hallways, and bedrooms
Why It Works
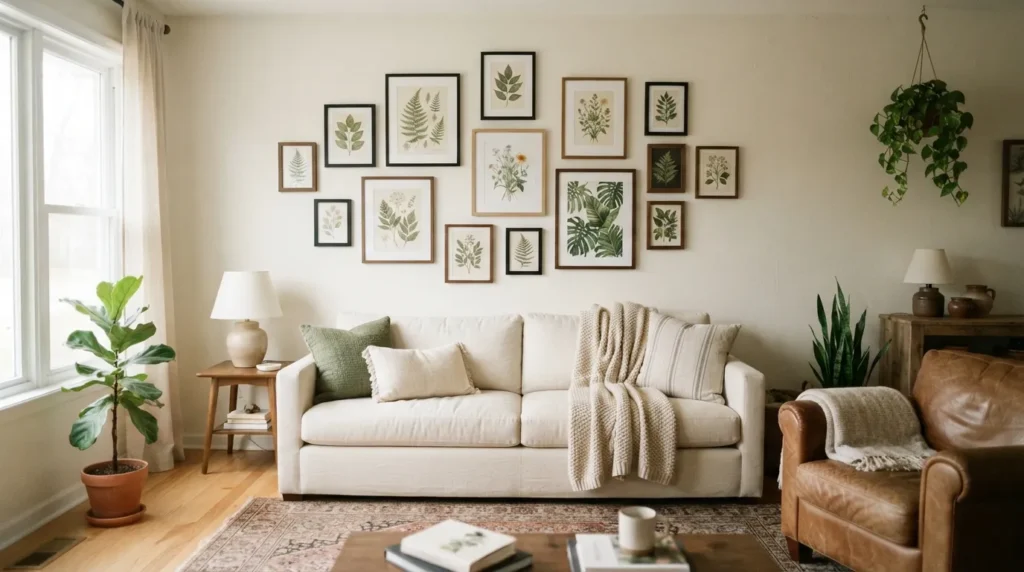
One thing that works especially well with botanical themes is grouping several smaller prints into a gallery wall rather than relying on one large piece. A mix of leaf illustrations, floral sketches, and simple line drawings creates a layered, collected-over-time feel that reads as intentional and curated rather than store-bought. It’s also one of the most flexible DIY approaches, since pieces can be swapped in and out as your taste evolves.
How To Style It
Choose a mix of three to seven prints in varying sizes, keeping a consistent color palette (such as green and cream tones) to tie them together visually. Lay the arrangement out on the floor first, then use painter’s tape to map the layout on the wall before hanging. Mix frame finishes slightly — such as black and natural wood — for added texture, but keep mat board colors consistent for cohesion.
3. Watercolor Botanical Sketches
Quick Benefits
- Adds a soft, artistic, hand-painted quality
- No advanced painting skill required for simple sketches
- Creates one-of-a-kind, personalized art
- Works beautifully in bedrooms and reading nooks
- Inexpensive with basic watercolor supplies
Why It Works
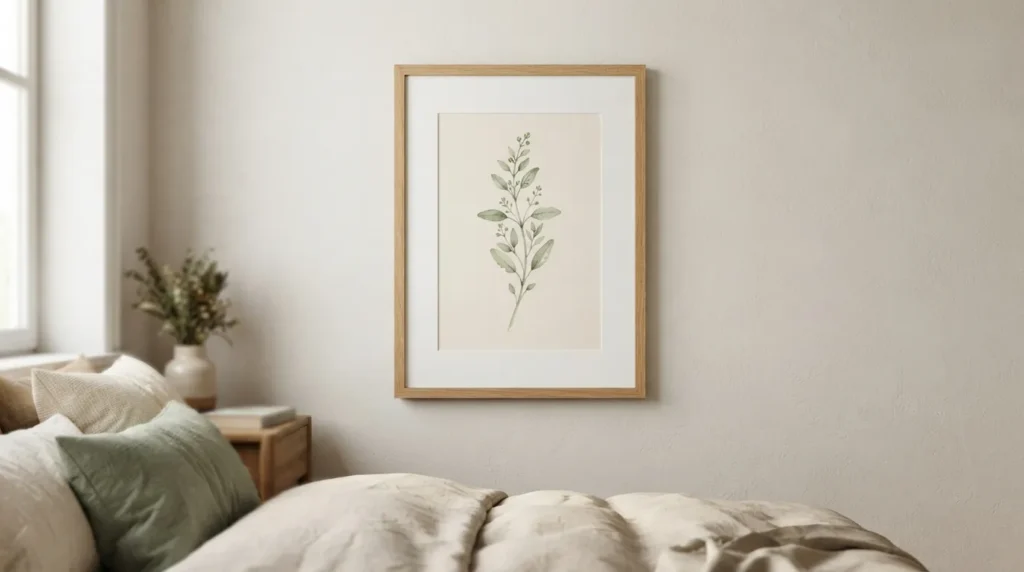
If you’re anything like me, the idea of painting your own art might feel intimidating at first — but simple, loose botanical sketches are far more forgiving than realistic portraiture or landscapes. A few soft brushstrokes suggesting a stem or leaf shape often look more sophisticated than an overly detailed attempt. This looseness is actually a hallmark of the watercolor botanical style found in high-end art prints.
How To Style It
Use a basic watercolor set and heavyweight watercolor paper, starting with simple single-stem sketches before attempting fuller arrangements. Keep your color palette muted — sage green, dusty rose, and soft ochre tend to read as elevated rather than childlike. Once dry, mat and frame the piece with generous white space around the sketch, which gives it a gallery-quality presentation.
4. Vintage Botanical Reprints
Quick Benefits
- Free or very low-cost using public domain images
- Instantly adds a classic, timeless feel
- No artistic skill required
- Easy to print at home or through a local shop
- Pairs beautifully with traditional and farmhouse decor
Why It Works
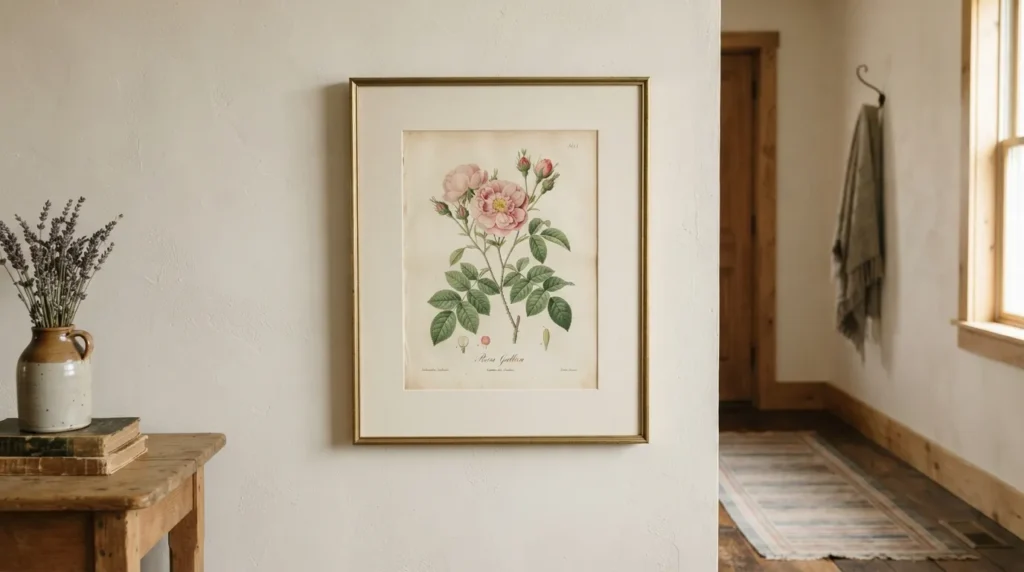
A mistake many people make is assuming quality wall art always requires original artwork. Vintage botanical illustrations from old scientific field guides and antique books are widely available in the public domain, meaning they can be legally downloaded, printed, and framed for the cost of paper and ink. I’ve seen this idea transform plain hallways into spaces that feel like they belong in a well-collected, established home.
How To Style It
Search public domain image archives for antique botanical illustrations — look for high-resolution scans to ensure crisp printing. Print on matte or textured cardstock for a more authentic vintage feel rather than glossy photo paper. Choose simple black or antique gold frames, and consider slightly aged or cream-toned mat board to enhance the vintage aesthetic.
5. Fabric Botanical Panels
Quick Benefits
- Adds soft texture not achievable with paper prints
- Great use for leftover fabric scraps
- Budget-friendly and beginner accessible
- Adds warmth to minimalist or modern spaces
- Easy to size for embroidery hoops of any diameter
Why It Works
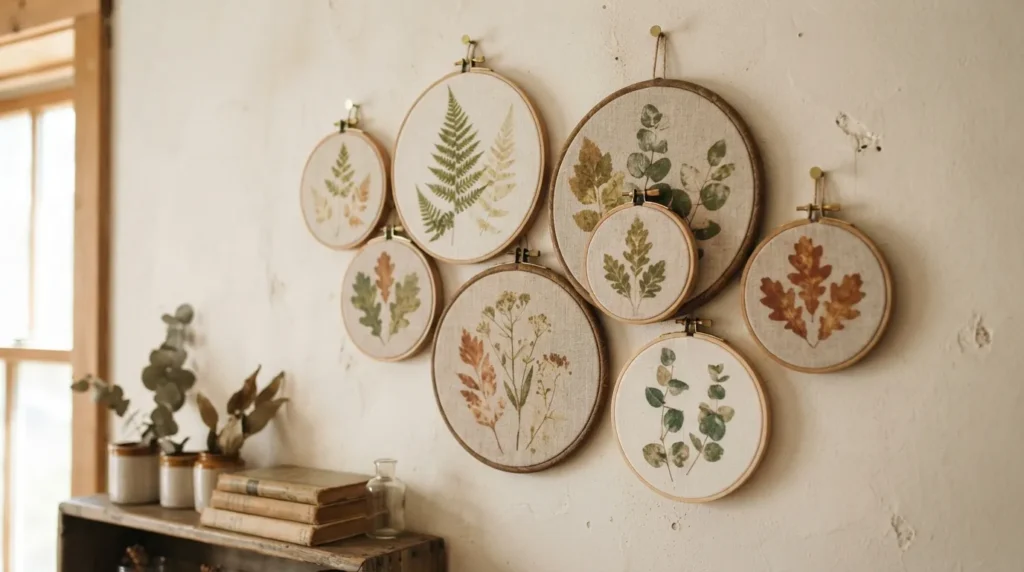
Fabric-based botanical art introduces a textile element that paper prints simply can’t replicate, adding a soft, tactile quality to a wall display. One simple trick I always suggest is using a botanical-print fabric stretched over an embroidery hoop — it requires almost no sewing skill and creates a piece that feels handmade in the best sense, with visible texture and dimension.
How To Style It
Choose a botanical or leaf-print fabric, cut it slightly larger than your embroidery hoop, and stretch it taut before tightening the hoop closed. Trim excess fabric from the back for a clean finish. Group three or four hoops of varying sizes together on a wall for a layered, dimensional display, or hang a single oversized hoop as a standalone statement piece.
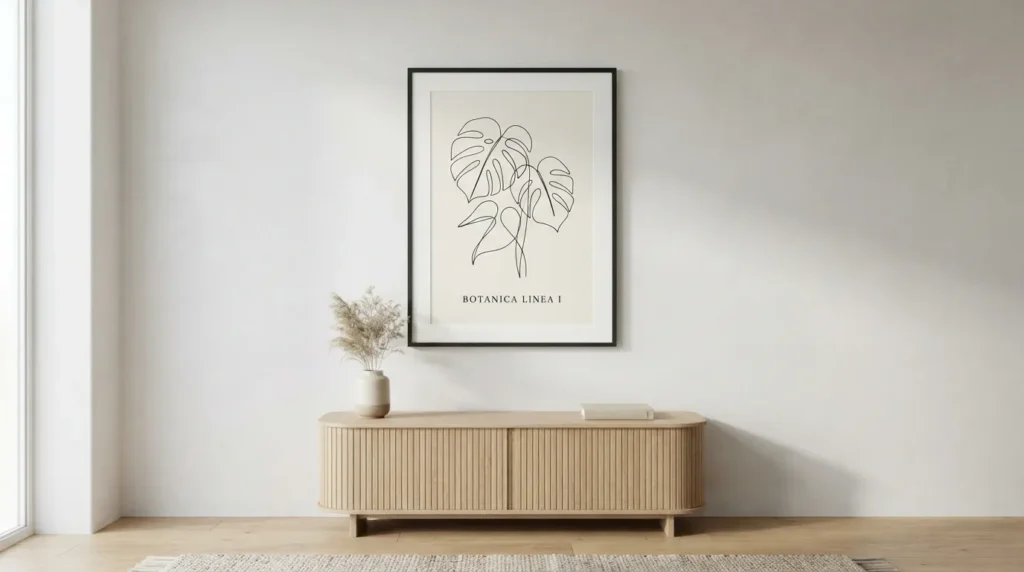
6. Monochrome Line Art Prints
Quick Benefits
- Fits seamlessly into modern and minimalist spaces
- Simple to create digitally or by hand
- Timeless black-and-white palette
- Works well as a small or oversized print
- Easy to reproduce in multiple sizes for a set
Why It Works
That’s why many designers recommend simple line art as a modern counterpoint to more traditional botanical illustration styles. A single continuous line suggesting a leaf or stem shape feels contemporary, uncluttered, and sophisticated, and it pairs especially well in spaces with neutral, minimalist decor where a busier botanical print might feel visually heavy.
How To Style It
Sketch a simple continuous-line botanical shape by hand with black ink on white paper, or use a free digital drawing tool if you prefer a cleaner, more precise line. Keep the composition loose, with plenty of white space surrounding the subject. Frame in a thin black metal or wood frame for a modern finish, and consider creating a set of two or three variations for a cohesive mini series.
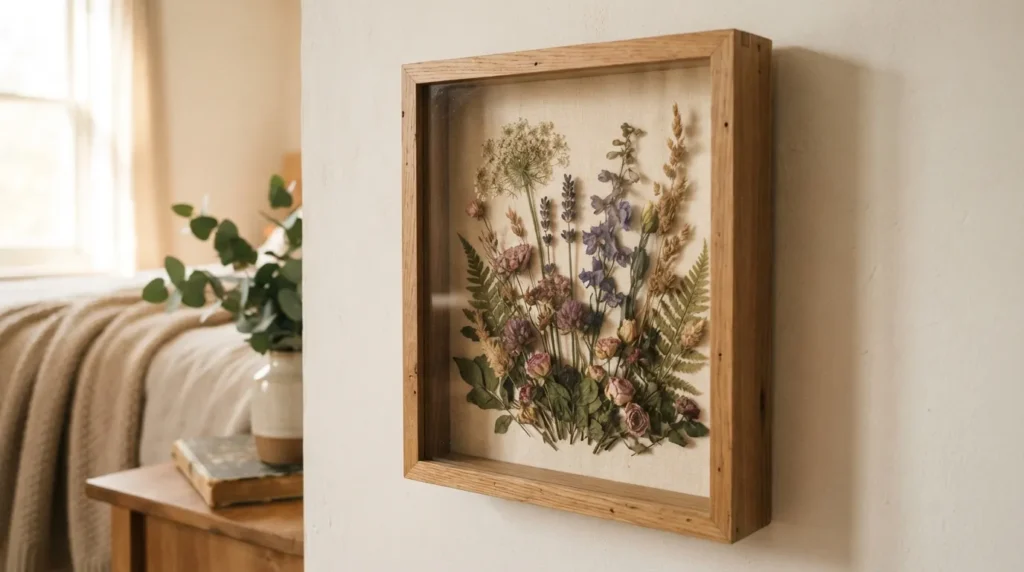
7. Dried Flower Shadow Boxes
Quick Benefits
- Preserves real, dimensional botanical material
- Creates a unique, textural focal piece
- Works beautifully with flowers from special occasions
- Adds depth that flat prints can’t achieve
- Long-lasting once properly dried and sealed
Why It Works
I’ve seen this idea transform sentimental flowers — like ones from a wedding bouquet or a garden harvest — into lasting wall art rather than something that gets thrown away after a week. Shadow boxes add real dimension to a gallery wall or statement corner, standing out among flatter framed prints because of their layered, three-dimensional quality.
How To Style It
Air-dry flowers by hanging them upside down in a cool, dark space for one to two weeks, then arrange them inside a deep shadow box frame using a small amount of craft glue to secure stems in place. Keep the arrangement loose and asymmetrical for a natural look rather than a stiff, formal one. A single shadow box works well as a standalone accent, especially near a bed or entryway.
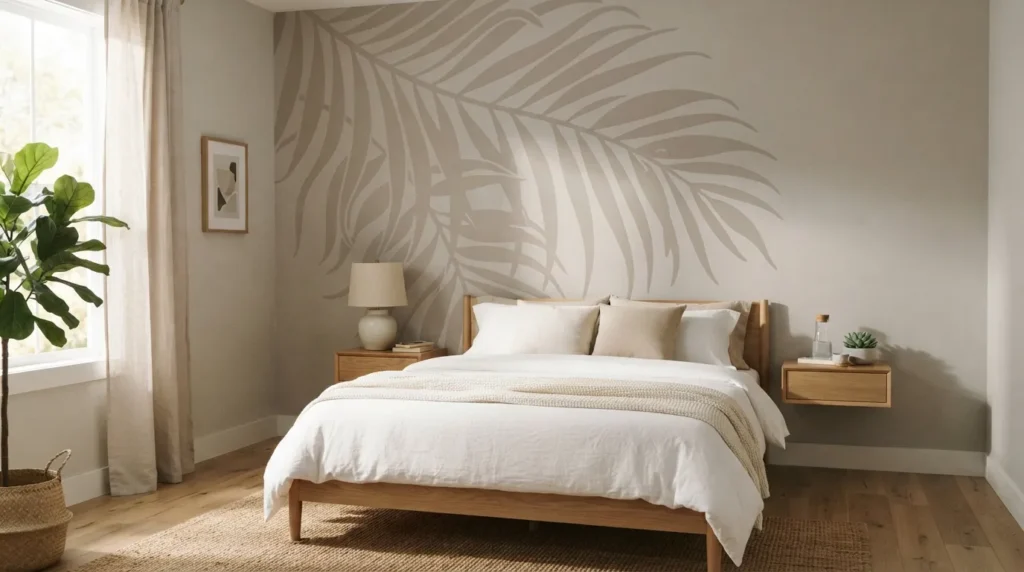
8. Botanical Stencil Wall Panels
Quick Benefits
- Creates a bold, oversized statement without expensive art
- Fully customizable in size, scale, and placement
- No framing or hanging hardware required
- Ideal for accent walls or awkward architectural spaces
- Budget-friendly compared to wallpaper alternatives
Why It Works
For homeowners wanting a bigger visual impact than a framed print can offer, painting an oversized botanical stencil directly on the wall creates a mural-like effect at a fraction of the cost of wallpaper. This approach works particularly well behind a headboard, in a small powder room, or on an awkward architectural wall where hanging traditional art is difficult.
How To Style It
Choose a large-scale botanical stencil design — palm leaves and eucalyptus branches are especially popular. Use a paint tone one or two shades darker than the wall color for a subtle, tonal effect, rather than high contrast, which can feel overwhelming on a large surface. Practice the stencil technique on cardboard first before committing to the wall to build confidence with paint application.
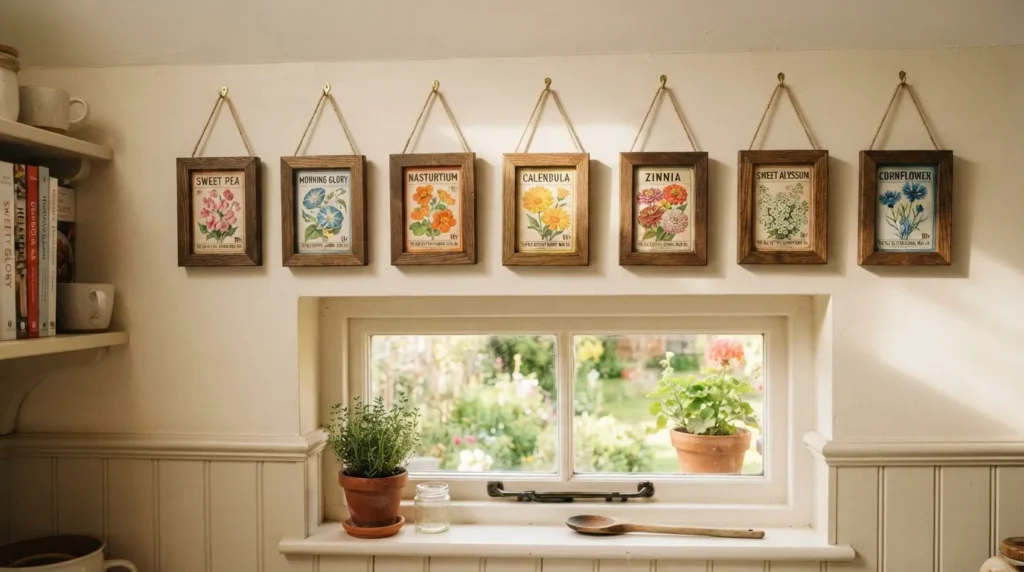
9. Framed Seed Packet Art
Quick Benefits
- Charming, vintage-inspired aesthetic
- Extremely affordable using real or reprinted seed packets
- Adds a personal, story-driven element to decor
- Works well in kitchens, mudrooms, and reading nooks
- Easy to source from garden shops or online prints
Why It Works
A common oversight is not realizing that everyday items like vintage seed packets can double as charming botanical wall art. Their illustrated typography and floral imagery carry a nostalgic, collected quality that instantly adds warmth and personality to a room, particularly in farmhouse or cottage-style spaces.
How To Style It
Collect a handful of vintage or vintage-style seed packets, either originals from a garden shop or printed reproductions. Frame each individually in simple, thin wood frames, and arrange three to five together in a horizontal row above a kitchen window or in a mudroom. Keep spacing even between frames for a clean, gallery-style presentation.
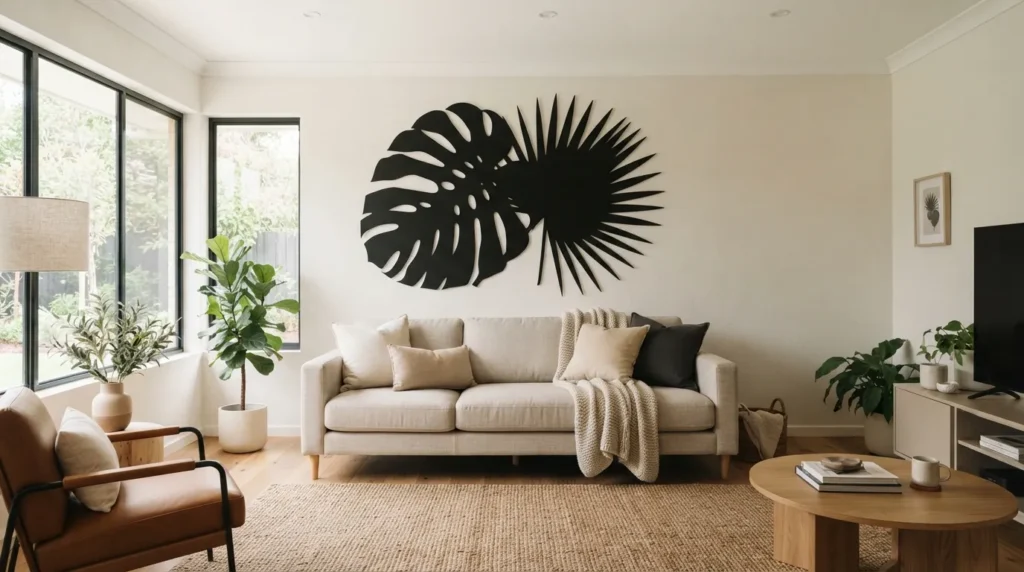
10. Large Scale Leaf Silhouettes
Quick Benefits
- Creates a bold statement without intricate detail work
- Extremely simple to execute, even for total beginners
- High visual impact for minimal effort
- Works beautifully in oversized or awkward wall spaces
- Cost-effective compared to large canvas art
Why It Works
One simple trick I always suggest for a large blank wall is scaling up a single leaf shape into an oversized silhouette rather than filling the space with many small pieces. The simplicity of a bold, single shape reads as confident and modern, and it’s far easier to execute than a detailed illustration since only the outline matters.
How To Style It
Trace or print an enlarged leaf outline template, then cut it from black cardstock, painted wood, or even fabric-covered board. Mount it directly on the wall without a frame for a clean, graphic look, or place it inside a deep-set frame for added dimension. A single oversized silhouette works especially well above a sofa, bed, or in a stairwell landing.
Frequently Asked Questions
What is the cheapest DIY botanical wall art idea? Pressed leaf frames and vintage botanical reprints are typically the most affordable options, since they require minimal supplies — often just leaves you already have access to, or free public domain images you can print at home.
Do I need artistic skill to make botanical wall art? No. Many of the ideas on this list, like pressed leaf frames, monochrome line art, and vintage reprints, require little to no drawing skill. The organic, imperfect nature of botanical subjects makes them especially forgiving for beginners.
How do I press leaves for wall art without a flower press? Simply place leaves between sheets of parchment paper inside a heavy book, then stack additional books on top for added weight. Leave them for one to two weeks until fully flat and dried before mounting.
What frame style works best for botanical prints? Simple, thin frames in black, white, or natural wood tend to work best, since they let the botanical subject remain the focal point. Avoid heavily ornate or oversized frames, which can compete with the delicate nature of the artwork.
Can I make botanical wall art without spending money on supplies? Yes. Pressed leaves from your yard, free public domain botanical images, and repurposed frames you already own can all be used to create finished wall art without any new purchases.
How do I arrange multiple botanical prints into a gallery wall? Lay your prints out on the floor first to test spacing and arrangement before hanging anything. Use painter’s tape to map the layout directly on the wall, keeping consistent spacing (typically two to three inches) between each piece.
Will dried or pressed botanical art fade over time? Some fading is natural, especially with direct sunlight exposure. To minimize this, hang pressed or dried botanical pieces away from direct sun, and consider UV-protective glass if the art will be displayed in a bright room.
Conclusion
Botanical wall art proves that beautiful, gallery-worthy decor doesn’t have to come from a store or a big budget. Whether you start small with a single pressed leaf frame or go bigger with an oversized stenciled mural, each of these ideas brings natural texture, warmth, and personality into your home in a way that feels genuinely yours.
You don’t need to tackle every idea at once. Start with one or two ideas and gradually build a space that reflects your style and supports everyday comfort — one thoughtfully chosen botanical piece at a time.
Related Articles
- DIY Accent Wall Ideas for Renters
- Cozy Bedroom Ideas on a Budget
- Neutral Home Styling Guide
- Small Living Room Layout Solutions
- Budget-Friendly Kitchen Updates